Last Updated on
By Guy J. Sagi
The experts make it look and sound easy when they routinely capture wonderful images through their spotting scopes. My experience—despite using the bright and clear optics of a Vortex Viper HD 20-60x80mm—made it obvious there’s a whole lot more to digiscoping than meets the eye.
I have an all-new appreciation for people who routinely capture good digiscoping images. There are some who claim it’s simple, like a plug-and-play app—and I’m sure there are a few setups that are—but my experience was different. Don’t get me wrong. I haven’t given up because it’s addictive and my images improve every outing. There are some things I should have done differently, however, and here’s a laundry list so you can avoid the same pitfalls.
Mindset
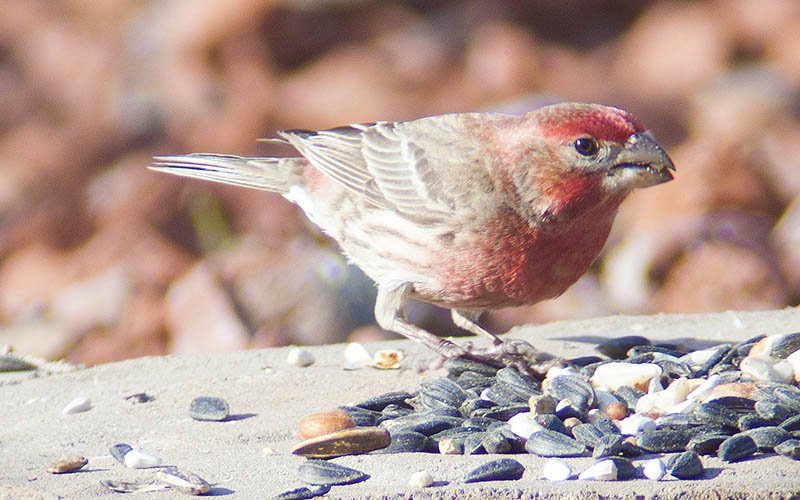
The Vortex Viper HD 20-60x80mm’s optical performance borders on amazing, but you’re probably not going to take the next National Geographic cover digiscoping with it. There are reasons a decent camera lens with large magnification costs exponentially more than the spotting scope.
To put price into perspective, a 50mm lens on a full-frame-sensor camera provides coverage considered close to what humans see through their eyes—no magnification. When you mount a 200mm lens, magnification soars up to four. The lowest power setting on the Vortex is 20, which converts to 1000mm in camera-speak. Sigma’s camera-mounted 200-500mm with doubler will stretch things that far, but it’ll set you back $25,999. NASA and the NSA have stuff that goes to 60x, although outdoorsmen don’t have the luxury of tax funding to underwrite the project.
Resign yourself to the fact that you’re not going to take impeccable images right away and your digiscoping baptism will be much more pleasant. You’ll get there, faster if video is your goal, but it’s going to be an education.
Camera Mounting
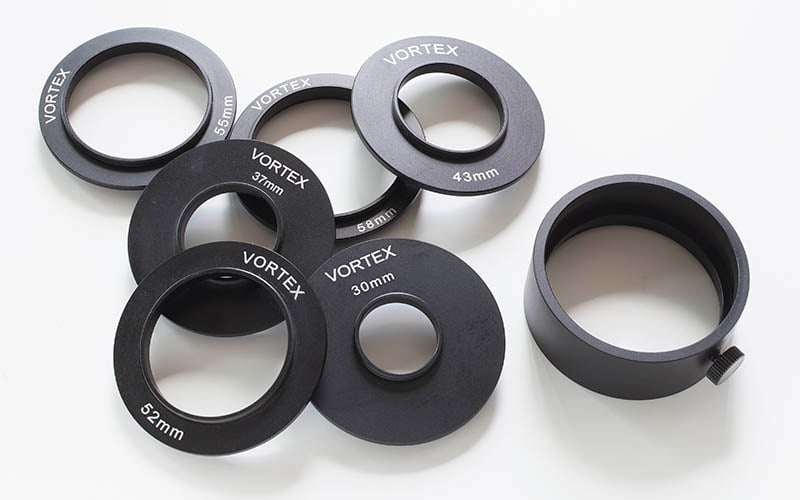
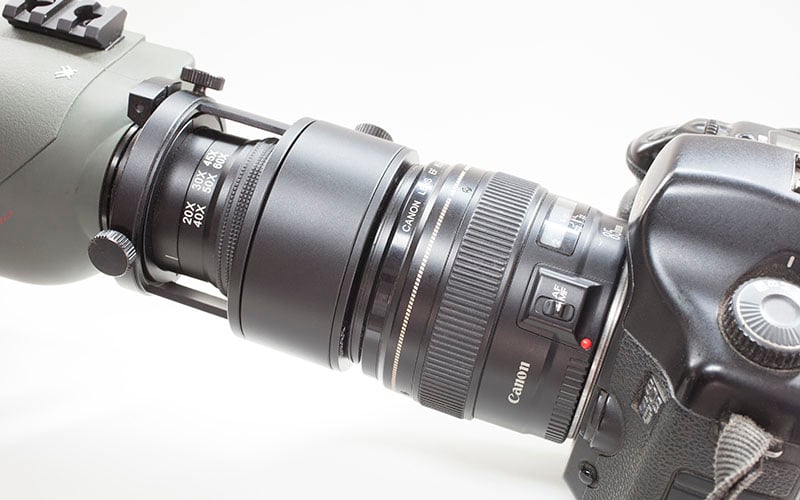
The Vortex Viper Digital Camera Adapter kit anchors the camera solidly to the spotting scope. It starts with a ring that tightens around the Viper’s eyepiece via an Allen wrench. The camera side of the system mounts onto lens filter threads and the kit comes with 30, 37, 43, 52, 55 and 58 mm versions. They in turn are screwed into a hollow, round housing that slips over and tightens onto the eyepiece adapter. You can still zoom the spotting scope with everything mounted, and the camera rig comes off fast when you’re ready to go back to glassing that distant ridgeline.
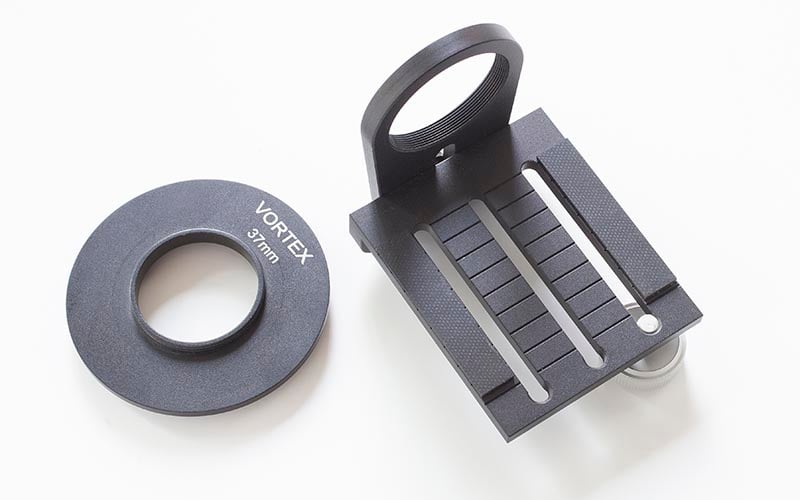
Some point-and-shoots don’t have threaded lenses. The Vortex Digital Adapter Attachment PS-100 is a horizontal shelf, of sorts, that works with the system’s 37 mm plate to provide a solid platform.
The entire system anchors the camera firmly at about the same position as your eye is when using the spotting scope. Hit the shutter and it takes a picture of what’s showing on the eyepiece.
Tighten everything, well, and then check again. A little play at the eyepiece adapter magnifies exponentially at the camera sensor end. There are enough variables in this equation, so eliminating this one is critical.
Point and Shoot
The point-and-shoot adapter “platform” comes with a bolt that has the same thread pattern as on a tripod, which allows you to firmly affix the smaller camera. There are three slots, each running fore and aft. The trio addresses the fact that tripod mounts aren’t always in the same position on a camera body. Their length provides the ability to move things back and forth to minimize vignette (the black circle you see around the outside of an image).
I ran this system with a Sony RX100 Mk5 and it did well. Some precautions are necessary, though, because some lenses extend fully when powered up. Don’t tighten that tripod nut until the glass is out and you’ve zoomed to minimize vignette. Then adjust some more, tighten and you’re ready.
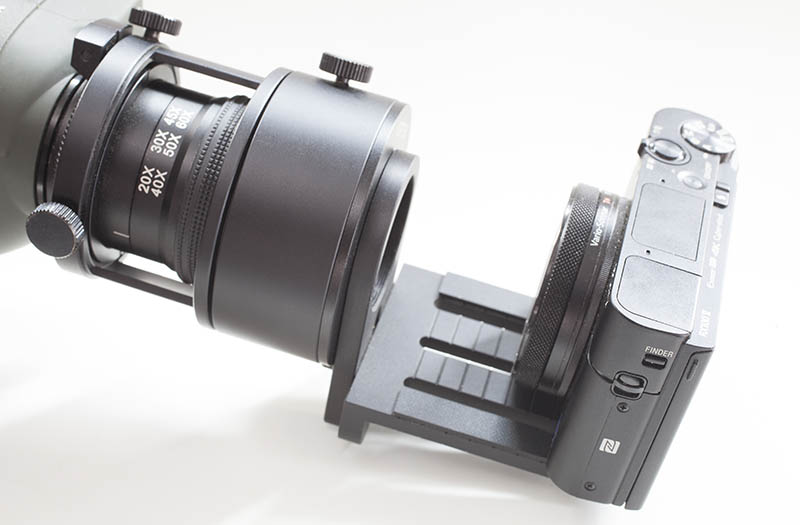
The lighter weight of this setup made it particularly attractive to me, but I couldn’t get the same results as I did with the DSLR rig. I surmise part of the difference was in their varied abilities to handle high ISO—yes, the Vortex collects a lot of light, but you’ll need to move that ISO up to get usable pictures.
Other things were easier with this system, too. The smaller camera would focus and give me an audible confirmation and even expose correctly. The DSLR would not. That’s a lot easier. Maybe in a month or two I’ll figure it out.
Vignette
The round and black circle on the outside of your image is common—vignette. Basically, it’s the exterior of the eyepiece showing. Minimize by zooming in and in a point and shoot’s case, moving the camera body back and forth on the mount, being careful not to force the lens up against the adapter housing.
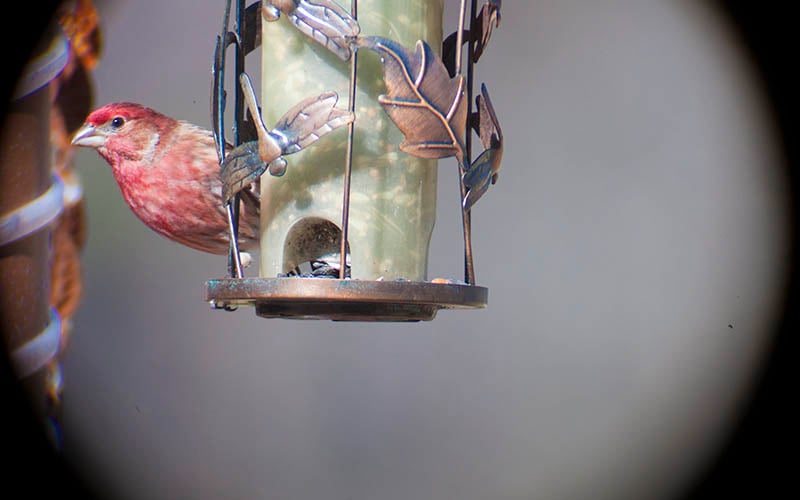
I started with the recommended 50mm on the DSLR setup and vignette was noticeable. It disappeared when I tossed on my 85mm lens. Experiment a little and the odds are good you’ll find that sweet spot. Zoomed to full extension on the Sony RX100 (25.7 mm but 70mm equivalent due to smaller sensor) that vignette was there to stay.
Rock Solid
A sturdy tripod is mandatory, period. And, we’re not talking backpacking or tabletop versions. The closer to the ground (less extension), the better and as height increases, so should the quantity of your stabilization. Add a sandbag to the legs, especially if it’s windy.
I thought I could beat camera shake/blur by building the system up until it rivaled a military-grade bunker. Maybe you can, but I couldn’t. A remote shutter release on the Canon did wonders, and—probably because I’m lazy—on the Sony I used the time-lapse app to take photos every three seconds. Things improved dramatically when I lost the slight motion of my finger touching the shutter, and the resulting amplification though apparatus’ length.
Lessons
Despite all my precautions, I ran into several situations I’m still working through. A camera taking an image of what another optic is transmitting means two focuses—through the Vortex, then through the camera. The point and shoot did its own fine tuning (after I focused the spotting scope) and gave me that audible confirmation. The sweet spot on the Canon varied by the lens I mounted, which got interesting. With my aging eyes—diopter adjustments on the camera—I’m in for a lot of experimenting.
The Vortex objective lens is big at 80mm, and that allows it to collect a lot of light in relatively dim conditions. That size, however, also means it’s more subject to flare when sunlight strikes the surface than other glass. Thankfully it has a generous hood—extend it, fully, leave it there.
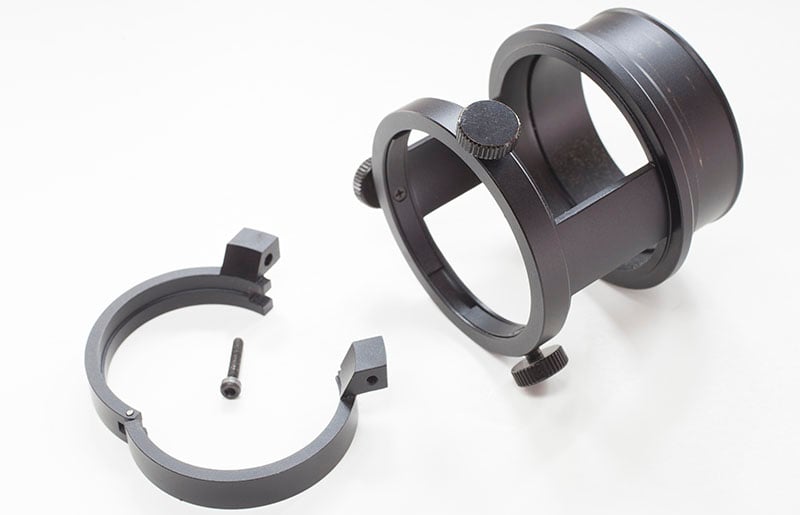
Carry a small piece or two of opaque black cloth. The fast-detach camera mount on the DSLR allows you to zoom during operation, but light sneaking through that gap can splatter onto the lens. It’s obvious in the display or viewfinder, so toss the fabric (even glove or hat) on the mount and move around until the bright spot disappears. Leave it there and don’t touch it when the shutter is being released.
This one still has me scratching my head. The last day of testing, light snuck in as a vertical line through the focus-dial housing. It was remedied with the dark-cloth approach easily, but took a long time to locate. Oddly, the sun was at a right angle to the spotting scope.
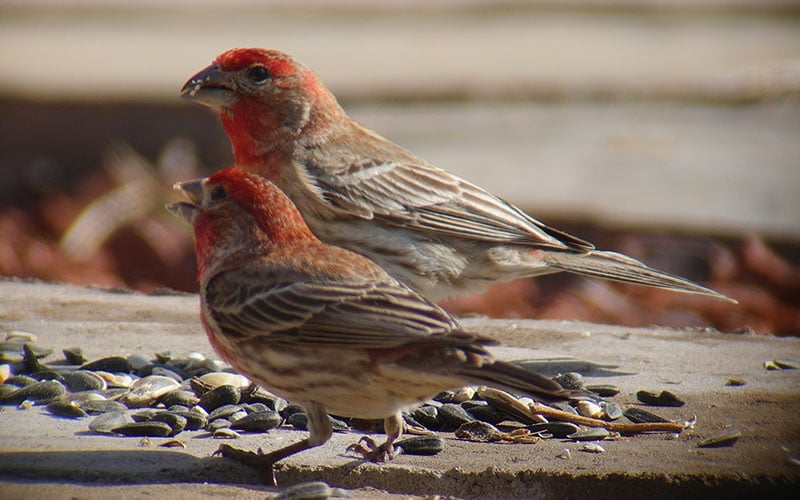
Depth of field—how much in front and behind the subject in focus—is razor sharp. A bird six inches behind the subject you dialed into will be blurry. The aperture on your camera doesn’t affect this at all with the system. It’s taking a photo of the display at the eyepiece.
At 60x you’re battling environmental conditions at extreme range, and the humidity or mirage your mind filters out at that distance will be show. You may be able to read the title of the magazine at 300 yards, but the volume and issue number may be a wavy blur.
Video out of the gate was good—once vignette problems were sorted. That’s worth the price of admission in itself.
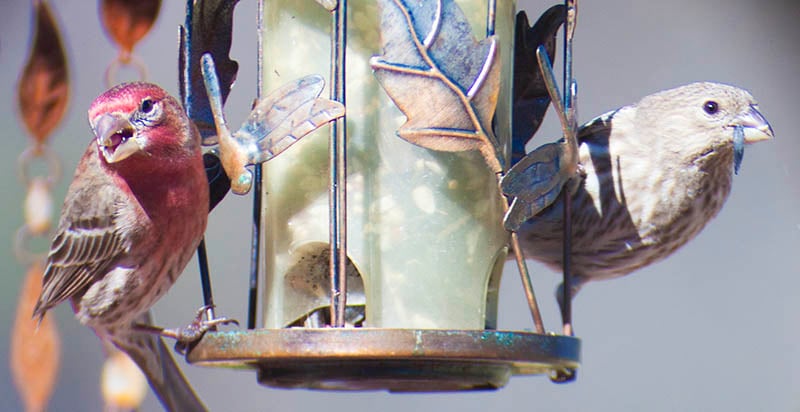
With detailed notes and the information carried in the image metadata (you are shooting RAW, right?), I have no doubt I’ll improve things significantly. However, and this is the best tip, I’m going to do my tests at home, from the comfort of my yard. I’d hate to think I missed that once in a lifetime shot just because I was too lazy to do some homework. And this time of year, there are plenty of birds willing to model.
