Last Updated on
There are few things that anger a landowner or a hunter more than the thought of their trail camera being stolen. First, if it’s private property, it just adds insult to injury that someone was trespassing and then decided to lift the trail camera while they’re at it. Even if the land isn’t reserved for your exclusive use, you placed the camera there for a reason, to scout for hunting season, and the thief is not only messing with your gear but also your pre-season preparations. Those who mount cameras with the intent of catching trespassers can feel particularly ripped off since they wouldn’t need the trail cam if people left their property alone. Finally, good trail cameras aren’t cheap, and losing one before the season may mean you have to go the rest of the season before you can afford another camera. Repeated theft may even convince some hunters that mounting trail cameras isn’t worth the effort, and what’s the fun in that? Instead of giving up, let’s take matters into our own hands and ensure you’re not a victim of trail cam theft.
Step 1 – Camouflage
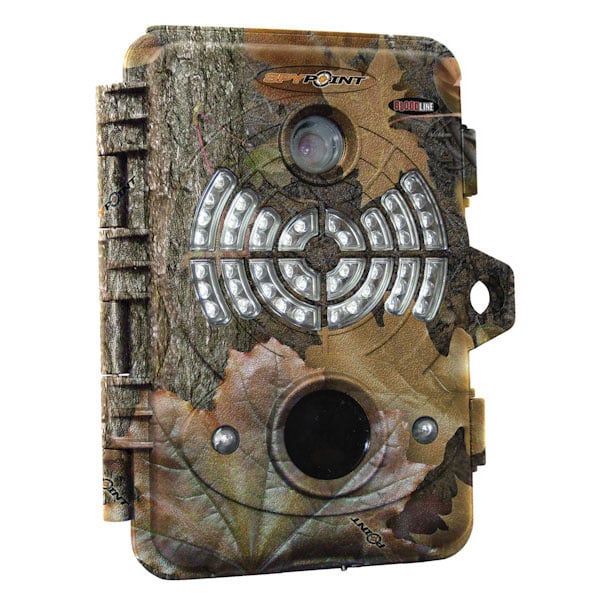
We start with the most-basic preparation, camouflage, because you don’t want your valuable camera sticking out like a sore thumb. Here finding clever mimicry camo is the real goal, and you don’t want to pick a generic camo pattern just to find that it doesn’t match the tree. The best way to find the right trail camera camo for you is to take photos of the tree(s) you’ve selected to hang a camera on, and then take them home and compare them to available camera models on the market. From there you can add additional camo as needed until you’re satisfied that most will walk by it in the daytime without noticing it. Sleek and low profile trail cameras are a bonus, but they will cost more.
Step 2 – Avoid Obvious Placement
This one goes right along with camouflage in basic trail camera theft deterrence. Avoid placing your cameras in high traffic areas like ATV trails or logging roads where any schmoe might see it as they pass by in their four wheeler or truck. You should also be cautious when placing a camera next to a feeder or notable food plot. Most thieves will assume that trail cameras will be found close to a food plot, and they’ll start their search there. Instead try to choose spots on game trails or other areas where you can get an indication of animal movements while still requiring thieves to cover a lot of ground to find your cameras.
Step 3 – Infrared Flash
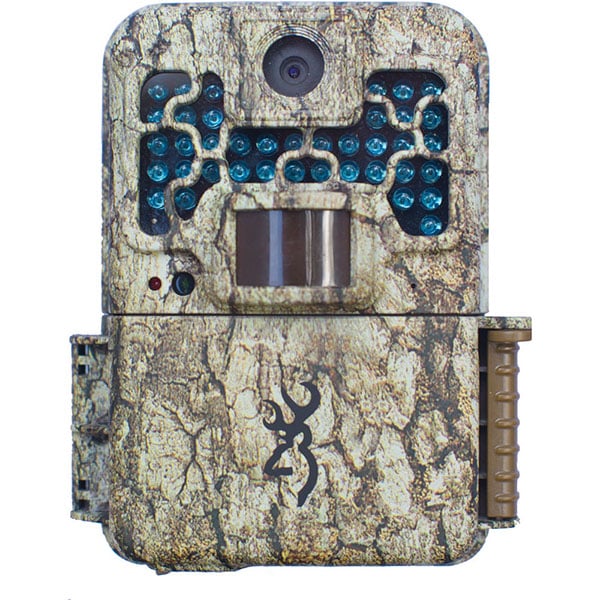
Even if you’ve done all you can to make the trail camera inconspicuous in the daytime, a flash trail cam is going to give its position away immediately whenever something walks by it at night. Now these flash trail cams can take some great, full-color photos of that big buck you’re after, but their last photo might just be a full-color image of the thieves taking the camera down. We have even heard of thieves driving their ATVs around at night hoping to set off a flash trail camera. It’s almost like the sound of a jackpot for them. Instead of going with a flash camera, consider an infrared flash that is far less likely to get picked up by a passing thief. Infrared photos are monochrome, but you can still get plenty of detail out of them as well as the valuable scouting images you’re after. The catch is that an infrared trail camera is more expensive, and you’ll be risking more when you place one out in the field. Still given the downside of a flash trail cam, an infrared cam is your better bet.
Step 4 – Cable Locks And Bear Boxes
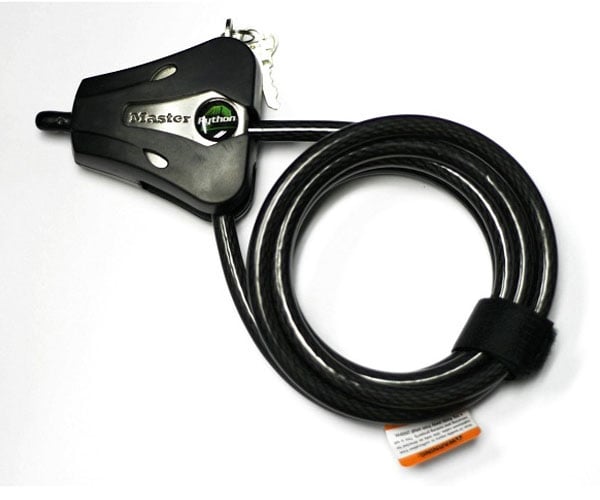
Cable locks have been a popular security device for years, but these days you can’t count on them being as effective as they used to be. A cable lock is a length of cable that locks the trail camera to the trunk of the tree. Sure a good cable lock will deter kids or the less-prepared thieves, but most trail camera thieves expect a cable lock to be present now. If they get it in their minds that they’re going out to steal trail cameras, they’ll bring along a good pair of bolt cutters as well. This is not to say that you should skip a cable lock altogether, but don’t expect them to be your best security solution.
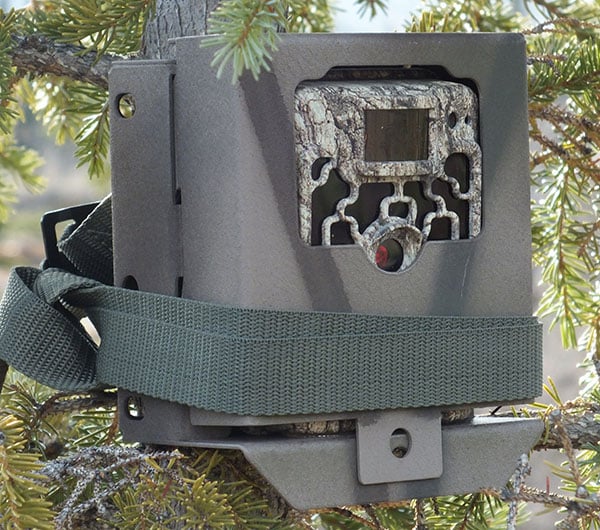
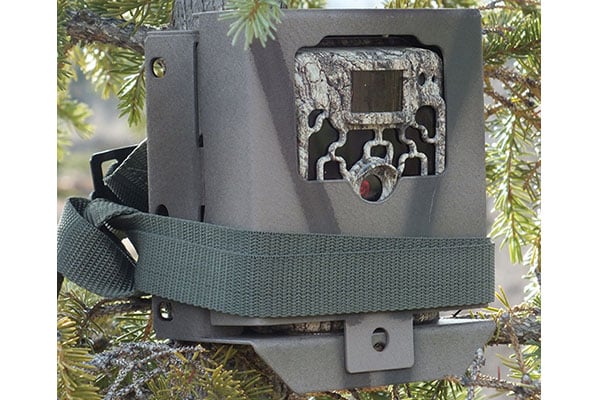
A trail camera security box or bear box represents a step up from the security offered in a cable lock. These security boxes are nicknamed bear boxes because bears like to toy (or should we say crush) some trail cameras they come upon. A security box is composed of a steel frame that encapsulates all but the front sensors and camera, and the frame is usually locked tight by a heavy duty padlock. These are less likely to get opened by amateur thieves, but they do cost more than a cable lock, and you are risking more since you’re buying a quality trail camera and a security box both. That said, these are a good upgrade for those concerned about theft, but don’t overlook good camouflaging on the security box either.
Step 5 – Consider Mounting The Camera Higher
Trail camera manufacturers and annoyed hunters have responded to the threat of theft in many ways, and one popular way is to hang a camera higher in a tree. The thought here is if the camera is out of the eyesight line of thieves, they will hopefully walk by it none the wiser (as long as the flash doesn’t alert them). Even if a thief picks out a trail camera mounted higher, they may be reluctant to climb up and try to get it, especially in the dark. The drawback here is you’re not going to get those quintessential ground-level trail cam photos we’re all used to seeing. Instead you’ll catch deer and wildlife from a higher angle. If you want to wow friends and family with trail cam photos this might not be for you, but if you’re more interested in serious scouting and concerned about theft, this is something to look into.
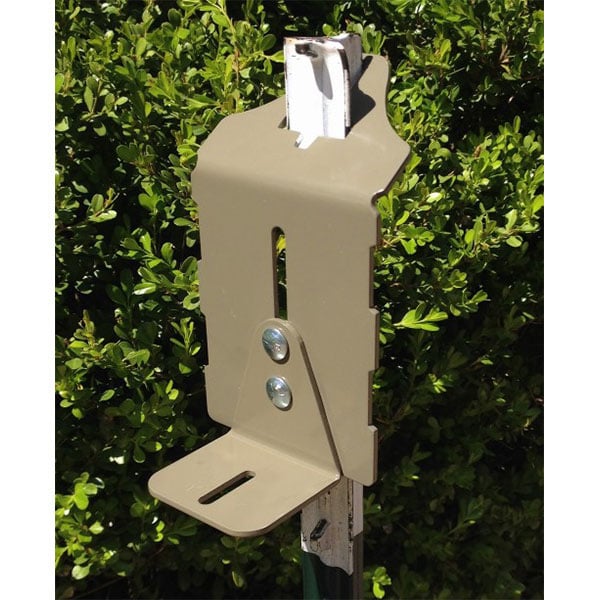
Step 6 – Decoy Or Backup Cameras
Some concerned hunters and landowners have placed backup trail cameras, or other cameras positioned to capture thieves as they steal the first camera. While we can understand the desire to catch a photo of the thief, there are a few holes in a plan like this. First, you’re risking even more by placing two cameras in the same location, and if the thief happens to see both, well now you’re really out some money. Secondly, there’s no guarantee you’ll catch any defining features or the face of the thief to begin with. One can imagine most thieves who are committed enough to steal trail cameras aren’t going to do it without a face mask or something these days. Of course there are exceptions, but you can’t count on it.
Now one other related technique is the use of a decoy trail camera. The idea here is that you place an old or busted trail camera in an more obvious location, and keep the real, working trail camera better hidden in a nearby location. Hopefully the thief will steal the old one, consider the job done, and move on to whatever other dastardly deed they are cooking up. Sure the same risk applies here as the thief could catch sight of the better trail camera and make off with both, but at least here you’re only risking one good trail camera not two.
Step 7 – Security Code
This final step is more of a “FU” to the thief than anything. Most current models of trail cameras come with security codes where they cannot be activated without the input of a code that is either provided or you input. Once the thief gets the camera back home, they’ll find they can use it again or sell it without the code. Now this doesn’t keep the camera from being stolen, but hopefully continued use of these codes will deter more thieves in the future. Sadly, a security code will never deter someone who just wants to damage or destroy your camera. Still, this is a must-have upgrade for any new trail camera.
Final Thoughts
The sad fact is you’ve got to keep the behavior of two types of animals in mind when you place your trail cameras. The first is a big smart animal like a deer and the other animals that frequent the forest, and the second is a big dumb animal like a human who doesn’t have anything better to do than mess with other people’s property. Like it or not, the best trail camera photos will come when you plan and account for both. If you can’t sleep at night because you’re worrying about your trail cameras all the time, then maybe placing them in the first place isn’t right for you. But if you’re willing to take a chance and get smart about placement and security, you can add some valuable intel for hunting season and maybe get a few of those “wow” photos of wildlife that unexpectedly show up on trail cams now and then.
Have a suggestion on how you’ve prevented trail cam theft? Share it with us below.
Image four and thumb courtesy of Wikimedia Commons.
Interested in more? Check out: BioLite Campstove Review.
Shop gritroutdoors.com or Browse Top Selling Products.


3 comments
Nice piece (David-?). I’ve lost a couple of trail cams housed in security boxes from posted private property to cable cutters, and one to a tree cutter. That’s right, they cut down the tree the cam was chained to just above the box – so I doubt much of anything will deter well prepared thieves. And, photos of night time thieves captured by nearby IR cams have proven useless with local authorities, who always seem to have more important issues to tend to.
Nevertheless, here’s a tip that may deter prospective thieves of the opportunity type: For several years I have been stickering my cams and security boxes with the State Game & Fish Dept. logo. These are free at most game & fish offices, or can be cut/trimmed from window/bumber stickers. Since I began using these, I’ve found more photos of curious trespassers and fewer pics of blurred images of hands/tools attempting to remove/steal the cams.
PS – My experience with the Master Lock Python cable locks is that a tightened/locked cable can be loosened if enough pressure is applied, like with a bar for leverage, as the plastic coating will slide through the locking mechanism. For this reason, I no longer use these.
Thanks Tony, I appreciate it.
I’ve also heard of thieves cutting down trees to get at cameras, which frankly makes them even more despicable since they’re unnecessarily cutting down timber. If they want it, they’re going to get it that’s for sure. That’s a good tip about the Game & Fish logo though, thanks for sharing.
If you get some time, let us know how you like to set up the security boxes and what sort of locks you use.
Wouldn’t take much to configure a protection box out of metal that has a activation cord to a stun gun.
Lift the box get stunned. Thieves really do deserve what ever they get.