Last Updated on
Fire has always been one of our greatest survival assets, and even today, getting a fire started can still mean life or death in some situations. As vital as fire is, getting one started can still be fairly difficult depending on the conditions. Fortunately, there are a myriad of ways to get a fire started, although some methods are easier than others. Better yet, talking about ways to get fires started can be pretty entertaining in itself. Below, we break down many of the popular fire starting methods and their pros and cons.
Matches
Matches are compact, relatively easy to use and very portable fire starting options. Of course not all matches are made equally, and those that have thick stems and a fair amount of fuel will be better options than the cheap, giveaway versions. Waterproof matches are even better, especially in survival scenarios. Of course there are several drawbacks to matches as well. A good gust of wind can blow a match out before you even get the fire started, and this can be deflating if you only have a few matches left. Match packs also run out pretty quickly and they need to be used carefully and efficiently. Most importantly, matches never represent a long term fire starting option, and they are better for casual use or emergencies only.
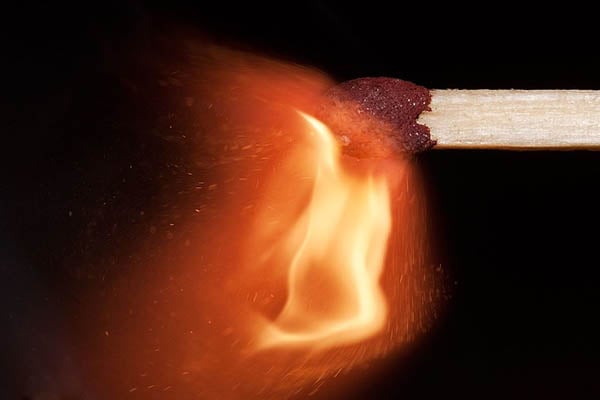
Pros: Easy to use, compact, little effort required.
Cons: Fragile, easily lost, susceptible to wind, easy to waste without getting the fire started.
Lighters
Lighters represent an upgrade from matches in many ways but also have drawbacks of their own. They can be used more frequently than matches to ensure the fire is properly lit, and if the wind blows a lighter out, another click will have the lighter going again. Lighters also provide more fire than a box of matches as long as it has a full tank of fuel. Ordinary lighters are made to be cheap and break easily, so a wind and waterproof lighter is the ideal choice for a survival situation. Still, even an empty cheap lighter is better than nothing, and the sparks from the flint wheel can still catch the right tinder in a worse case scenario. A lighter is a reliable and quick option for starting a fire, but it should never be your only option, and a lighter doesn’t represent a long term option because they will run out of fuel or break.
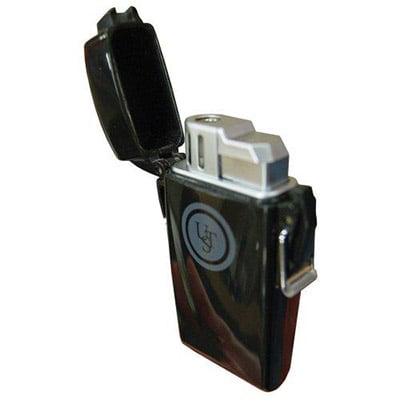
Pros: Easy to use, large fuel source, can be used repeatedly, compact.
Cons: Fragile, fuel eventually runs out, mechanical failure renders it useless depending on the model.
Fire Drill
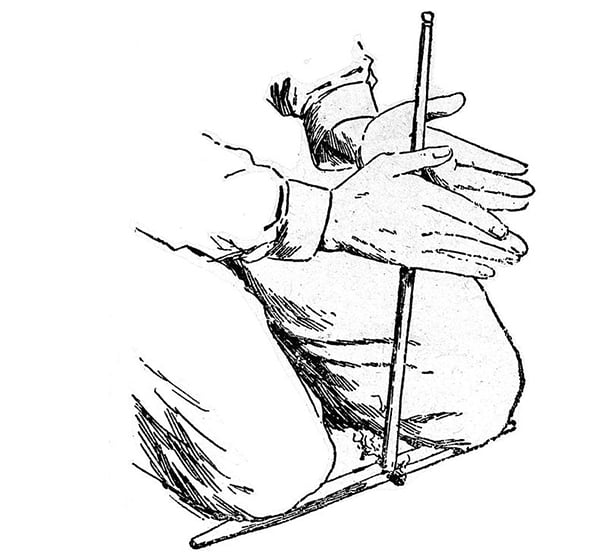
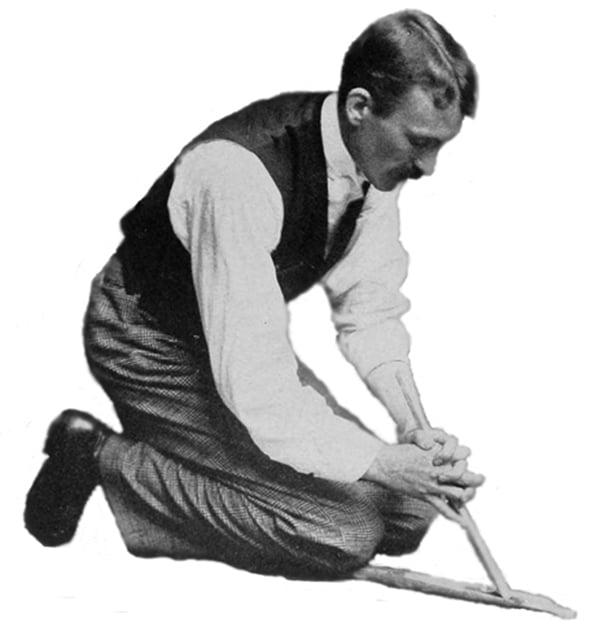
A fire drill is a primitive and often sensationalized way to start a fire. It involves twisting a straight stick into a wooden base to create friction, eventually creating an ember. Although it works, this is an extremely difficult method, and one to only attempt when you have a lot of time and no other options. First off you have to select both a straight wooden stick and a suitable base made out of the right type of wood. The only way to truly know you have the right wood is through trial and error, which could mean a lot of wasted effort. Using tricks like cutting a notch in the side of the base to increase airflow and digging a trench under the base to further increase airflow and create a spot for a tinder bundle have been known to help.
Even so, the act of generating enough friction to create an ember is extremely taxing, especially on your hands. You can expect blisters to form on your hands after trying this method, and only those who use this technique regularly are immune to the threat of blisters. Worse yet, it’ll take you a good long while of continuous spinning to create enough friction, and it’s hard for anyone to keep it up long enough. Think at least a half an hour of continuous spinning to create the right ember, and even when you start to see smoke, you still have a way to go. However, it can help the process if you have a a partner to switch off with. It’s not impossible by any means, but it’s never a given that this method will work, even if you’re well-versed in the practice.
Pros: Can be used indefinitely, once set up can be carried along for future fires, durable and parts are often easily replaced if broken/worn.
Cons: Success depends on finding the right type of wood, proper materials aren’t always available, requires a lot of time and effort.
Fire Plow
Similar to the fire drill, the fire plow uses a stick and a base to create friction resulting in an ember. Instead of using a circular “drill” motion, the fire plow uses a back and forth motion on the base. As the stick moves back and forth on the base, a trench is created and the ember is pushed to the rear of the base. Once the ember is big enough, it can be transferred off the base into a tinder bundle. The fire plow design is a simplified version of the fire drill, but it requires an extreme amount of effort, in most cases more than a properly used fire drill. However, the technique is easier to execute, and the stick you use against the base doesn’t have to be perfectly straight like it does in the fire drill. This is a better option for some, but you need to be pretty fit to keep the action going long enough to develop a proper ember.
Pros: Less complex than fire drill, easier to set up, very durable, parts are easily replaced if broken/worn.
Cons: Success depends on finding the right type of wood, proper materials aren’t always available, often requires more time and effort than the fire drill.
Fire Bow
Similar to the fire drill, the fire bow uses a wood base and a straight stick to generate friction and create an ember. However, instead of using your bare hands, a bow with a string is used to turn the wooden shaft. Often something is placed on top of the shaft to hold the device in place as you turn the stick with the bow. You will need proper cordage and a curved stick to perform this method. However, it can be much more efficient than the fire drill, and the bow will move the shaft faster with less strain on your hands. It is a little more complex to set up, but once perfected, this method can be used almost indefinitely to create fires.
Pros: Easier on hands and requires less effort than fire drill and fire plow, fairly durable, can be used repeatedly as long as string doesn’t break.
Cons: More complex to set up, requires reliable cordage that isn’t always available, still needs to be used with right wood.
Flint / Magnesium Stick
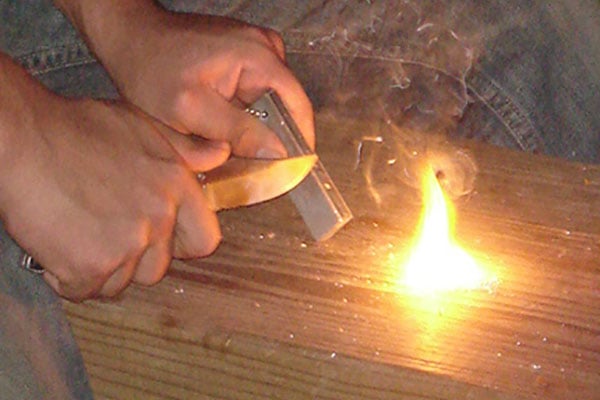
Another popular manual method of fire starting comes in the flint stick. A flint can be used with a striker or a knife to create sparks and ignite tinder. A properly used flint can last a long time and create a lot of sparks. That said, flinging sparks at tinder can be an uncertain method at best, and only the most sensitive tinder is prone to ignite in this way.
Your success rate with a flint goes way up when you use it with a magnesium stick. Before striking the flint, the magnesium stick is shaved to create a small pile of magnesium on top of the tinder. The magnesium is far more prone to take a spark and burn than just tinder, and the magnesium pile will burn long enough to get the tinder going. This is another good survival option to combo with lighters and matches, but be aware, you will eventually run out of magnesium if used long enough.
Pros: Compact, only requires a few minutes to get going, can be used a lot before running out of fuel.
Cons: Requires knife or striker to use flint properly, magnesium will eventually run out.
Fire Piston
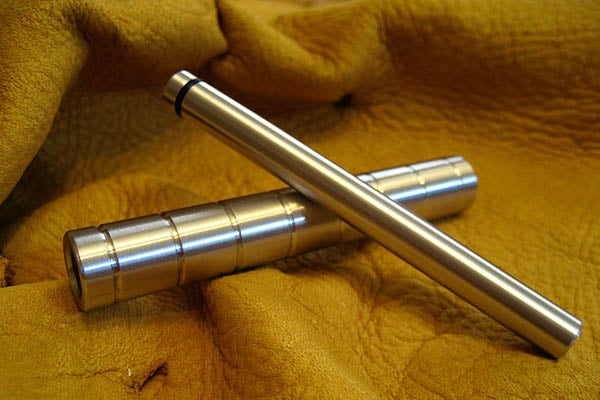
A lesser known but very reliable fire starting method comes in the form of a fire piston. This device uses compressed air to create and ember with the right tinder placed inside the piston. Using a fire piston is as easy as placing tinder in the pistol, putting the cap on, making a swift downward motion on the cap, and opening the device back up to retrieve the lit ember. You may have to experiment with different tinder materials to find the best one, but with near infinite fuel, it’s hard to be a fire piston as a go-to backup to fire and matches.
Pros: Can be used quickly, near infinite fuel, fairly compact.
Cons: Proper piston tinder loads need to be tried to find the best one, could break and be rendered useless in the field.
Image one and thumb, three, four, five, and six courtesy of Wikimedia Commons.
