The great outdoors is capable of many wonders, and making food taste like nowhere else is one of them. It is one of the greatest benefits of camping – getting to cook your meals over a campfire (or in it) to get that unmistakable flavor. Even though cooking utensils and spaces are pretty limited, there are still plenty of ways to whip up some dishes without having to bring a portable kitchen. In this article, we’ll cover 8 campfire recipes that will brighten up any camping trip.
Table of Contents
Grill Meals
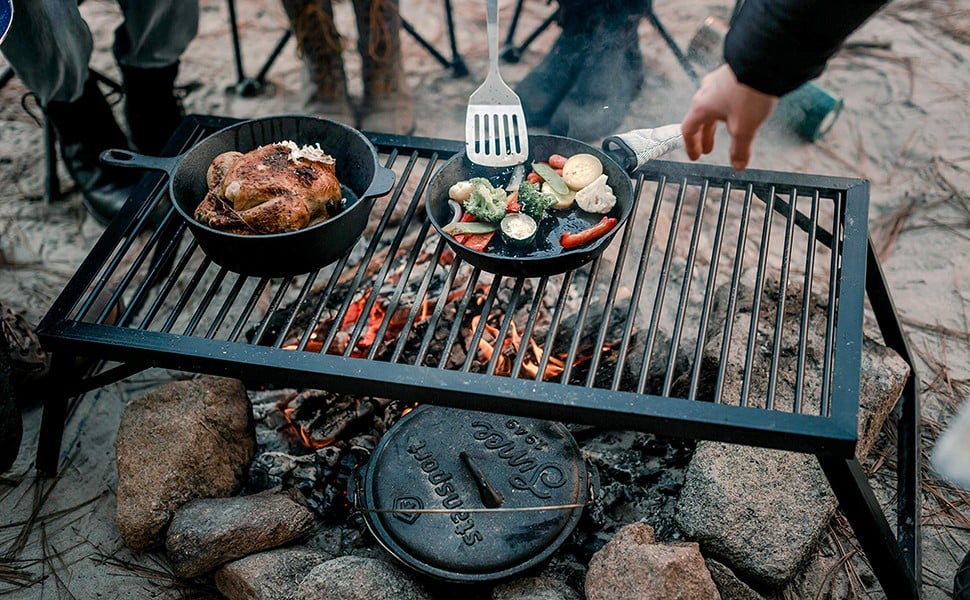
When it comes to campfire cooking, grilling is probably what first comes to mind for most of us. The grate and the open flame – that’s the main recipe of this school of outdoor cooking. This method is great for getting that unbeatable charred flavor on meats and vegetables. The key piece of equipment you’ll need is a grill grate, which can be a bit cumbersome to transport if you’re hiking into your campsite. Grilling requires a bit of skill to manage the heat properly, especially in wild camping conditions without the conveniences of a pre-built fire pit or grill station.
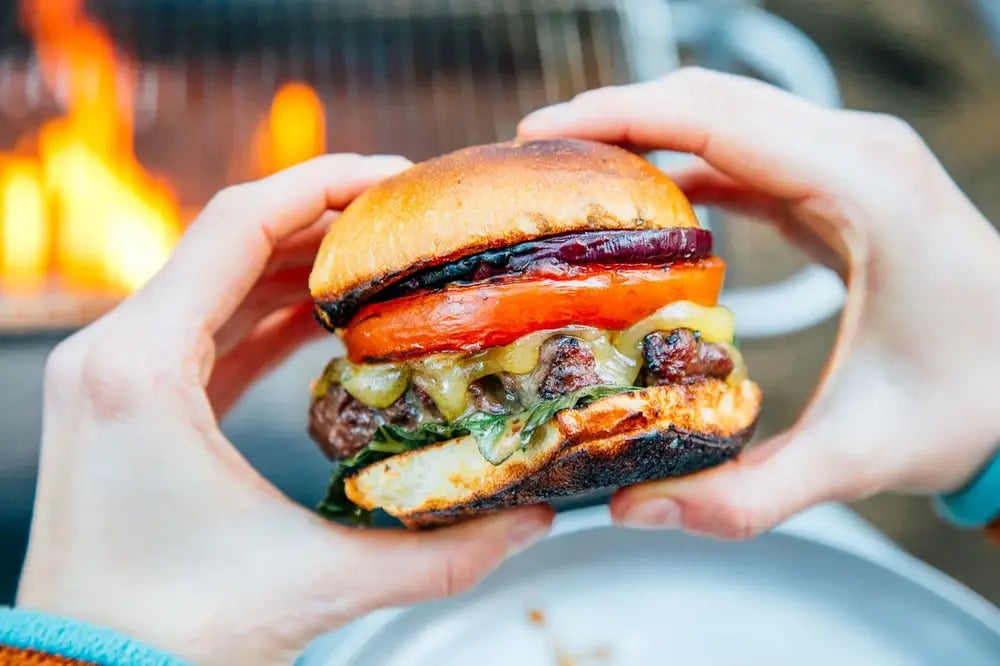
Grilled Everything Burgers
Everybody knows a burger when they see one, and it may seem like the only thing that distinguishes them is the assembly of in-between-buns ingredients. However, we offer you to take one step further and change the way the ingredients are cooked. How about we bring about the explosion of smoky, charred flavors that will transform a simple burger into a slightly more complicated burger? If you want to bring out the natural sweetness and complexity of the vegetables while adding a delightful crunch to the buns, then the Grilled Everything Burger is a perfect choice for you. Here’s what you’ll need.
Ingredients:
1 lb 80% lean ground beef | For the juiciest burgers, grass-fed beef with an 80% lean to 20% fat ratio is ideal. |
1 large tomato | Heirloom tomatoes have the firmness most suitable for grilling. |
½ lettuce head | Romaine lettuce is firm and stalky, which is an optimal choice for grilling. |
1 red onion | Cut into thickish rings, any onion will do (we like the flavor of the red one best). |
4 slices of cheese | Cheddar adds flavor, and American cheese has better meltability – the choice is yours. |
4 hamburger buns | Potato buns are dense and hold up well, but regular ones are perfectly suitable as well. |
2 tablespoons olive oil | For brushing vegetables |
salt | To taste |
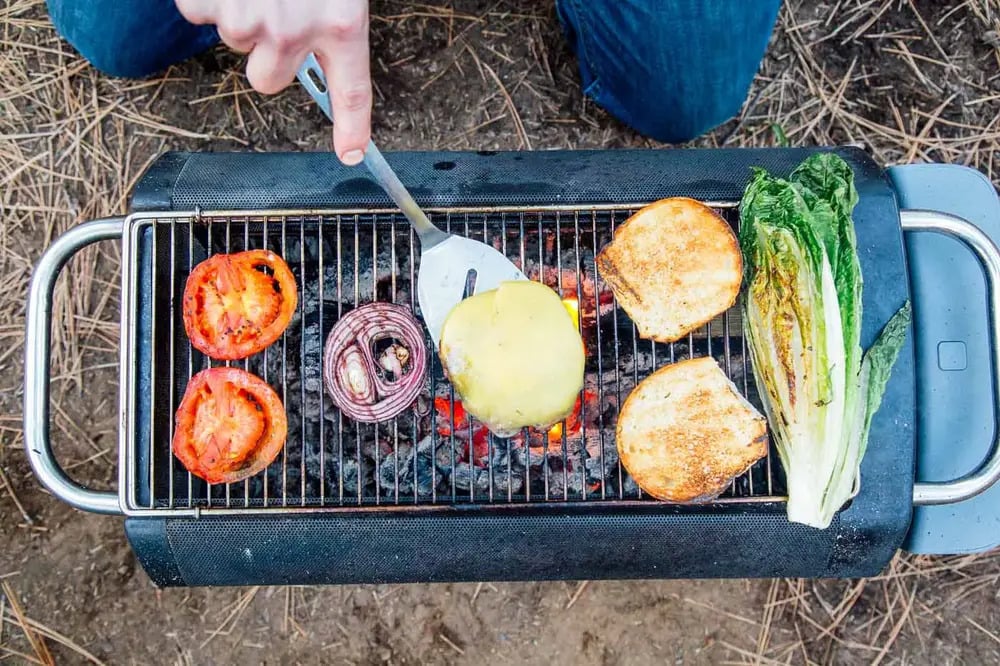
Instructions:
- Prepare your grill for medium heat.
- Slice the tomato and onion into ½-inch thick rounds. Brush these and romaine lettuce with olive oil and season with salt.
- Shape the ground beef into 4 patties, making a small indent in the middle of each for even cooking. Season generously with salt.
- Place the patties on the grill. Cook for about 5 minutes, flip them, add a slice of cheese to each, and continue to grill for another 2-3 minutes.
- While the burgers are cooking, grill the tomatoes, onions, lettuce and buns. Flip occasionally until the vegetables are slightly soft and charred, and the buns are toasted.
- Start with a few leaves of grilled romaine on the bun, add a cheese-topped burger patty, then a slice of tomato and onion. (Condiments are optional, ketchup, mayo, mustard – whatever floats your boat).
Preparation and Cooking Tips:
- Keep Ingredients Cold: Especially the beef, until right before forming patties to ensure the fat stays intact for juicier burgers. Coolers are indispensable for this purposes.
- Handle Beef Gently: Overworking the meat will make your burgers tough.
- Season After Forming Patties: This prevents the salt from drawing out moisture too early.
- Flip Burgers as You Wish: There is no rule on how often this should be done, at least not one backed by professional cooksю
- Clean and Oil Your Grill: This prevents sticking and achieves the best char on your ingredients.
Recipe Information:
- Preparation Time: 15 minutes
- Cook Time: 10 minutes
- Number of Servings: 4
- Calories (Per Serving): 620 kcal
- Fat Content (Per Serving): 39g
If you don’t want to rely on others and acquire your own portable grill, consider giving Primus Kamoto Large Open Fire Pit a look.
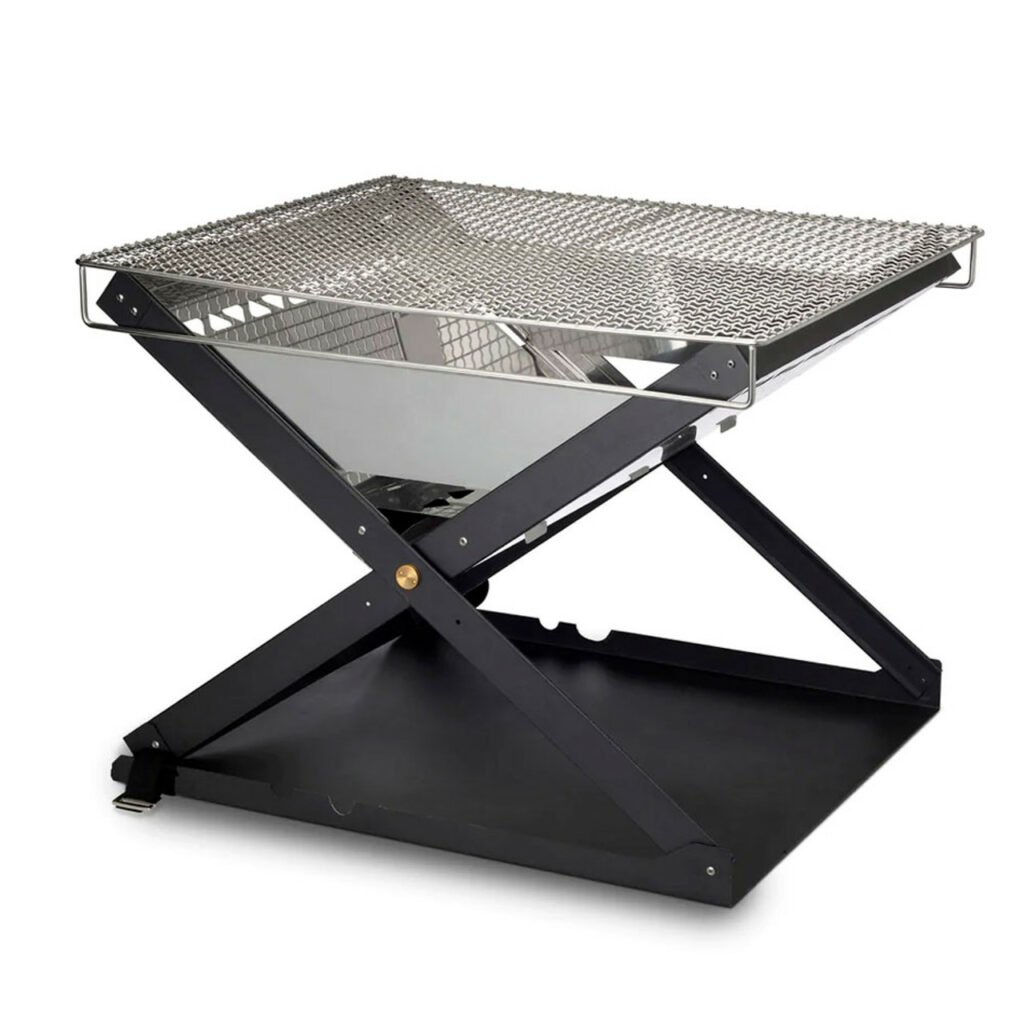
PRIMUS Kamoto Large Open Fire Pit
- Collapsible and portable, these fire pits can be used anywhere
- Powder-coated steel and stainless steel materials to handle years of use
- Grill grate and secure storage strap all included
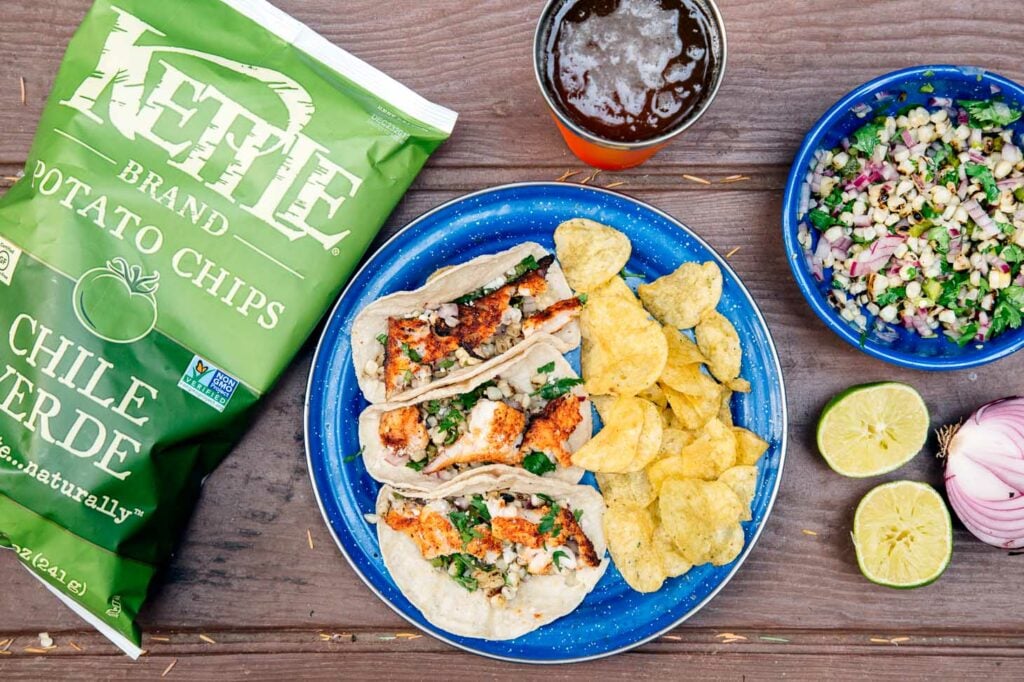
Campfire Grilled Fish Tacos
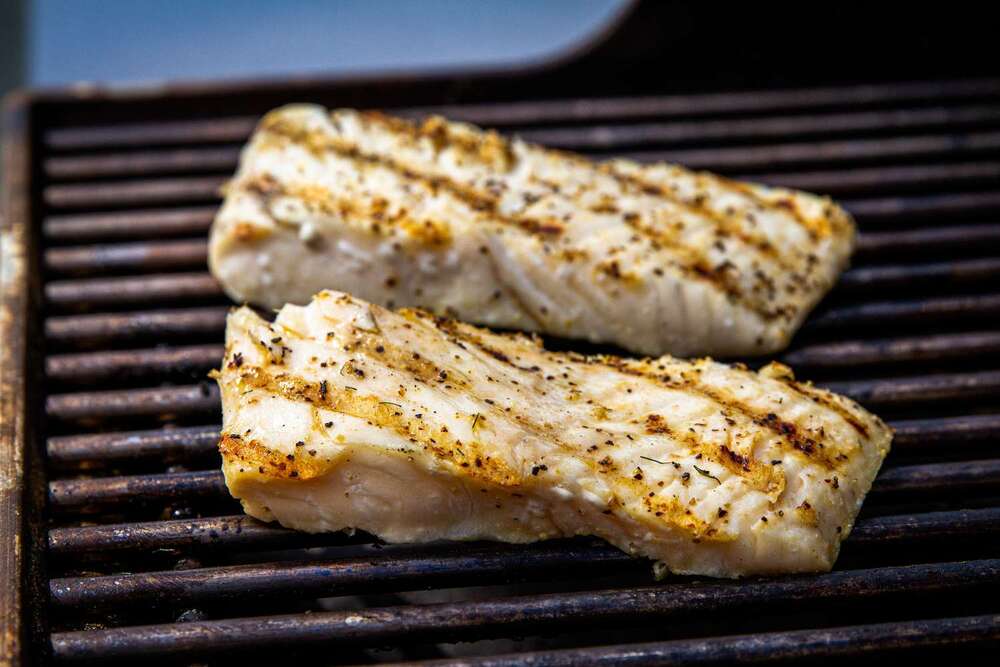
Tacos are campfire recipe lists’ habitues. They can be extremely easy or complicated to make – it all depends on how far you want to go. Such variability is what makes this dish such a popular choice for campers. This time, we decided to go with grilled fish and spicy corn salsa. Fish make for a godly dish if grilled properly, and spicy salsa will complement the tender flavor of the snapper without overshadowing it.
Ingredients:
For the Fish:
2 filets | Choose a mild, white fish like Pacific Snapper – these will allow the spices to shine through without overpowering the fish’s natural flavor. |
½ lime | Fresh lime juice adds a zesty brightness that enhances the fish. |
1 tablespoon olive oil | A good quality olive oil helps to keep the fish moist during grilling. |
1 teaspoon chili powder (optional) | Adjust according to your spiciness preference. |
½ teaspoon cumin | Ground cumin adds a warm, earthy tone that complements the chili powder. |
½ teaspoon salt | To taste |
For the Spicy Corn Salsa:
1-2 ears corn on the cob | Look for fresh, plump kernels for sweetness and crunch. |
1 jalapeño | Adjust the amount of jalapeño based on your spice tolerance. |
½ small red onion | Any onion will do (we like the flavor of the red one best). |
½ lime | Because you already have one half lying idly. |
handful cilantro | Fresh cilantro brings a burst of herbal freshness. |
salt | To taste |
To Serve:
6 tortillas | Warming them over the fire makes them pliable and adds a slight char |
kettle chips | If you enjoy an extra kick. |
hot sauce | For serving on the side. |
Instructions:
- Start your campfire or grill, aiming for medium-high heat. This will provide the perfect conditions for grilling both the fish and vegetables.
- Squeeze half a lime over the snapper filets, then drizzle with olive oil. Season both sides with chili powder, cumin, and salt. Set aside to marinate briefly while you prepare the other ingredients.
- Place the corn and jalapeño directly on the grill. Turn them occasionally to allow them to cook and char for about 10 minutes. Once done, remove and let them cool slightly.
- Place the seasoned fish in a wire grill basket and position it over the fire. Grill for about 3 minutes, then flip and cook for an additional 2 minutes. Remove from the fire and let the fish rest for a couple of minutes.
- Once the corn and jalapeño are cool enough to handle, shave the corn kernels off the cob. Peel the blackened skin off the jalapeño, then chop (removing stems and seeds for less heat). Finely chop the red onion and mince the cilantro. Combine all these in a bowl with the juice of the remaining half of the lime. Season with salt to taste.
- Warm the tortillas over the fire. Build your tacos by placing a portion of the grilled fish onto each tortilla, followed by a generous scoop of the spicy corn salsa. Add hot sauce if desired.
- Enjoy your grilled fish tacos with a side of kettle chips for a complete meal.
Preparation and Cooking Tips:
- Fire Management: Achieving the right temperature is key. If your fire is too hot, the outside of the fish will burn before the inside is done. Aim for medium-high heat and adjust the distance of the food from the flames if necessary.
- Using a Grill Basket: A wire grill basket is invaluable for cooking fish over an open flame. It prevents sticking and makes it easy to flip the fish without it falling apart. You won’t need to polish your campfire grate or look for a tool to flip the fish.
Recipe Information:
- Preparation Time: 20 minutes
- Cook Time: 15 minutes
- Number of Servings: 6 tacos
- Calories (Per Serving): 169 kcal
- Fat Content (Per Serving): 3g
Foil Meals
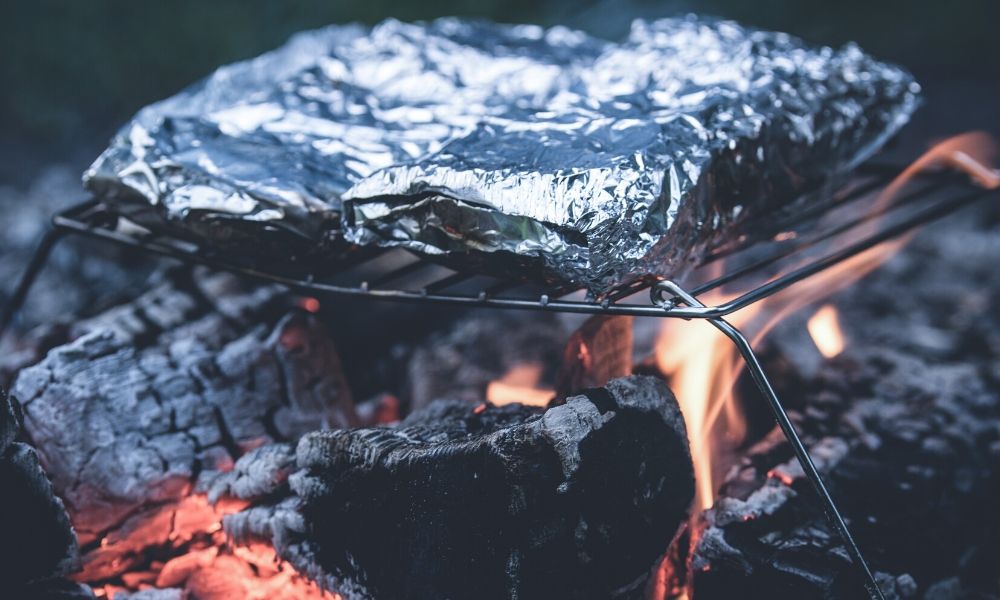
Foil packet meals can boast the ultimate convenience for camping. Wrap your ingredients in aluminum foil, toss it onto the coals, and let it cook – is there anything simpler than that? It’s a no-fuss, no-mess method, and you can pretty much forget about it once it’s on the fire. You don’t need any special equipment beyond the foil itself, making this method ideal for any camping situation. However, estimating cooking times can be a bit of a guessing game since you can’t easily check on the food without opening the packet. And the chances are you are not doing that.
Chicken and Black Bean Nachos
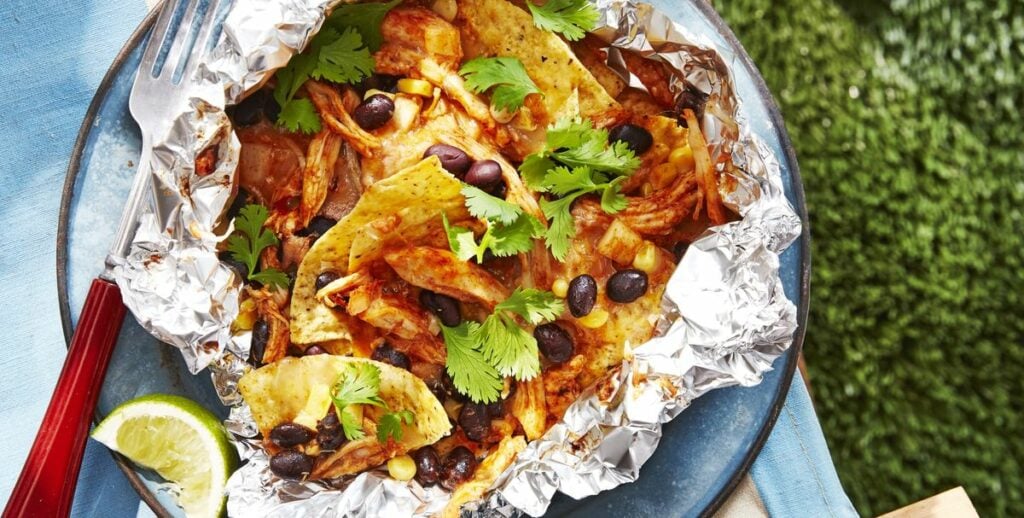
We’ve had beef, we’ve had fish, now it’s time we had some chicken. Like the rest of the tinfoil recipes, this one is pretty easy to pull off, but it remains a hearty meal nonetheless. Besides, since we are covering the best campfire recipes, we simply cannot do without some nachos. Though there will be plenty to go around for as many as six people, we’ll totally understand if you double or triple the serving for yourself.
Ingredients:
3 ½ cups shredded rotisserie chicken | Rotisserie chicken is a convenient and flavorful option. For a healthier choice, opt for chicken that’s been seasoned with less sodium. |
1 cup red enchilada sauce | Choose a sauce that has a depth of flavor; smoky or spicy options add an extra kick |
½ onion | Fresh onion adds a nice crunch and sweetness once grilled. |
1 cup fresh corn kernels | From 2 ears of corn. Fresh corn gives a sweet pop of flavor |
1 (15-ounce) can black beans | Rinsing removes excess sodium and improves the texture. |
3 cups pepper-jack cheese | Its creamy texture and spicy flavor elevate the dish. |
8 ounces tortilla chips | Opt for sturdy chips that can hold up the toppings. |
salt & black pepper | To taste |
fresh cilantro and lime wedges | Cilantro adds freshness, and lime wedges provide zesty brightness. |
Instructions:
- Set up your grill for indirect cooking and heat it to medium. This method will allow the nachos to cook evenly without burning the chips.
- In a large bowl, toss together the shredded rotisserie chicken, red enchilada sauce, chopped onion, fresh corn kernels, black beans, and 8 ounces of pepper-jack cheese. Season the mixture with salt and freshly ground black pepper according to your taste.
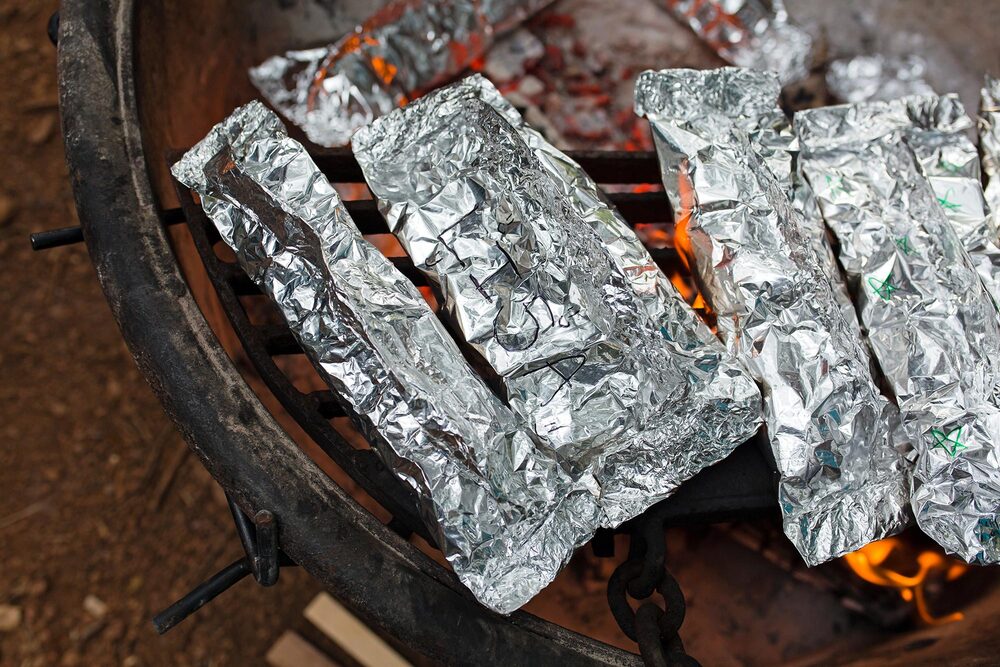
- Tear six 12-inch squares of aluminum foil. On one end of a piece of foil, place one-sixth of the tortilla chips, followed by an equal portion of the chicken mixture, and then some of the remaining cheese, leaving a 3-inch border around the edges. Fold the foil over the filling to create a packet and crimp the edges to seal. Repeat this process with the remaining foil, chips, chicken mixture, and cheese.
- Place the foil packets on the grill over indirect heat. Grill until the cheese is melted and the chicken is warmed through, which should take about 6 to 10 minutes. Be sure to monitor the grill to avoid any hot spots that might burn the packets and let your dish get away.
- Carefully transfer the hot packets to plates. Open them cautiously, as steam will escape. Garnish with fresh cilantro and serve with lime wedges on the side for squeezing over the nachos.
Preparation and Cooking Tips:
- Grill Indirectly: Using indirect heat prevents the bottom of the nachos from burning while ensuring the cheese melts beautifully.
- Customize Your Toppings: Feel free to add other toppings like diced tomatoes, sliced jalapeños, or avocado after grilling for added flavor.
Recipe Information:
- Preparation Time: 15 minutes
- Cook Time: 10 minutes
- Number of Servings: 6
- Calories (Per Serving): 599 kcal
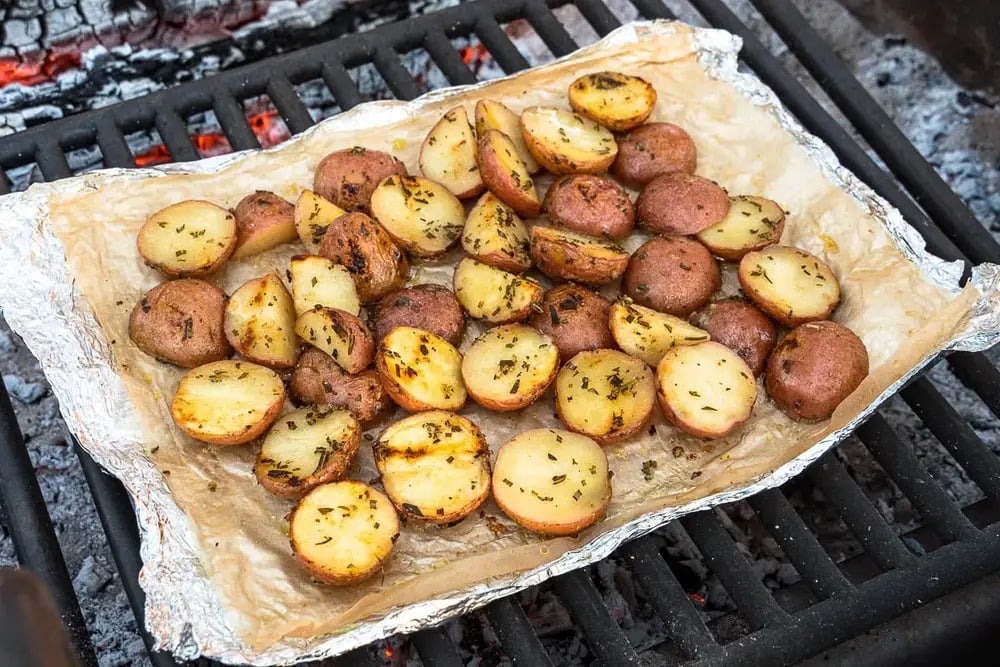
Grilled Potatoes In Foil
The next campfire recipe includes another ingredient, extremely popular with campers – potato. Potatoes make for an ideal side dish for any outdoor cooking occasion. You can also increase the volume and make it the main course if you want – you are your own person, after all. For this recipe, in addition to regular aluminum foil, we’ll need parchment paper. It will create a barrier between the food and the foil, thus preventing sticking and making clean-up a lot easier. It also addresses health concerns some have with cooking directly on aluminum.
Ingredients:
1 ½ pounds potatoes | Baby Red Potatoes not only add a splash of color to your dish but also require less chopping because of the size. You can also choose Yukon golds, red potatoes, fingerlings and even russets. |
2 tablespoons rosemary | The aromatic qualities of minced fresh rosemary cannot be overstated; it provides an earthy, piney flavor that dried rosemary simply can’t match. |
1 teaspoon garlic powder | Garlic powder offers a consistent, mellow garlic flavor without the worry of burning, as might occur with fresh garlic over direct heat. |
2 tablespoons olive oil | A good quality olive oil will not only help coat the potatoes for an even cook but also add a subtle undertone to the dish. |
salt | To taste |
Instructions:
- Prepare a campfire in advance. Aim to cook over embers rather than open flames to avoid scorching.
- If you’ve chosen baby potatoes, halve or quarter them so that they are roughly 1” x 1” in size. This ensures they cook evenly. Larger potatoes should be cut down to similar dimensions. Place the prepared potatoes in a large bowl.
- Mince the fresh rosemary, discarding any woody stems. Add it to the bowl with the potatoes, along with the garlic powder, salt and olive oil. Toss everything together until the potatoes are well-coated with the oil and seasoning.
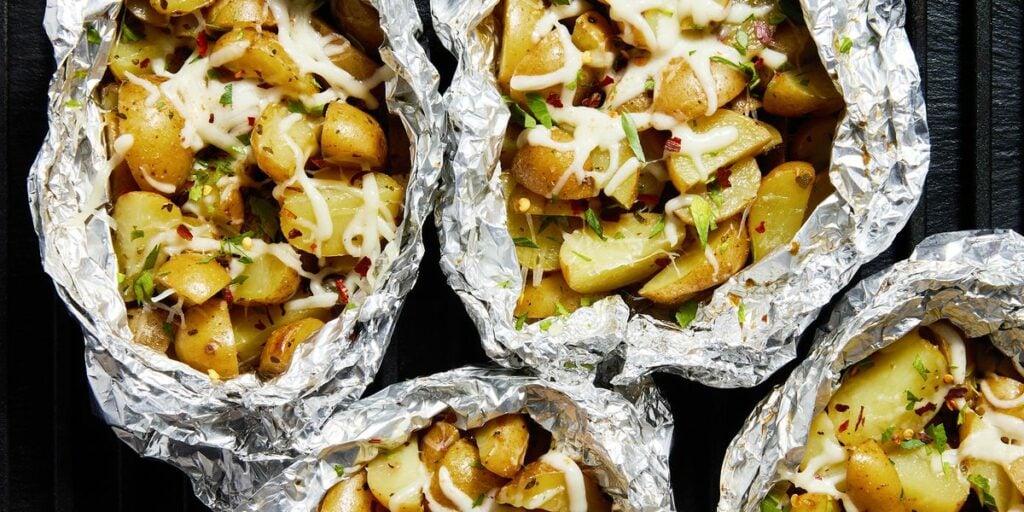
- Lay out a piece of aluminum foil and place a slightly smaller piece of parchment paper on top. Transfer a portion of the seasoned potatoes to the center of the parchment paper. Spread them into an even layer, avoiding any mounding. Cover with another piece of parchment paper and seal everything with another piece of foil on top. Crimp or fold the edges of the foil to create a sealed packet.
- Place the foil packet over medium heat on your campfire grate. Cook for about 12 minutes on one side, then flip and cook for another 12 minutes on the other side. The total cooking time should be approximately 25 minutes.
- Carefully remove the packet from the heat. Allow it to cool for a few minutes before opening (watch out for steam). Garnish with additional fresh rosemary if you have any left.
Preparation and Cooking Tips:
- Choosing Potatoes: Smaller potatoes cook faster and offer a more tender texture. Feel free to experiment with different types to find your favorite.
- Herb Variations: While rosemary is a classic choice, don’t hesitate to try other herbs like thyme or oregano for different flavor profiles.
Recipe Information:
- Preparation Time: 10 minutes
- Cook Time: 25 minutes
- Number of Servings: 4
- Calories (Per Serving): 282 kcal
- Fat (Per Serving): 7g
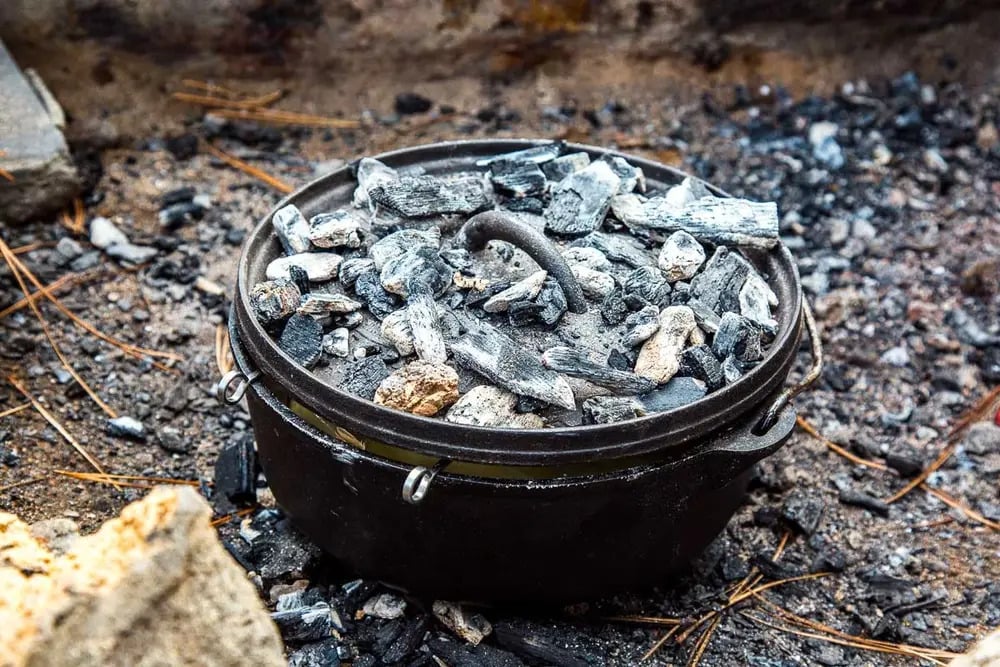
Dutch Oven Meals
Cooking with a Dutch oven might seem a bit old-school, but it’s incredibly versatile. These heavy, cast-iron pots can handle baking, stewing, frying – basically, any cooking challenge you may throw at them. They’re perfect for making dishes that need to simmer for a while, like stews or chili. The catch is, they’re heavy and bulky, so you won’t want to lug one around if you’re backpacking. Plus, managing the coals to maintain the right temperature takes some practice. Dutch oven cooking is best suited for more established campsites where you can set up and cook comfortably.
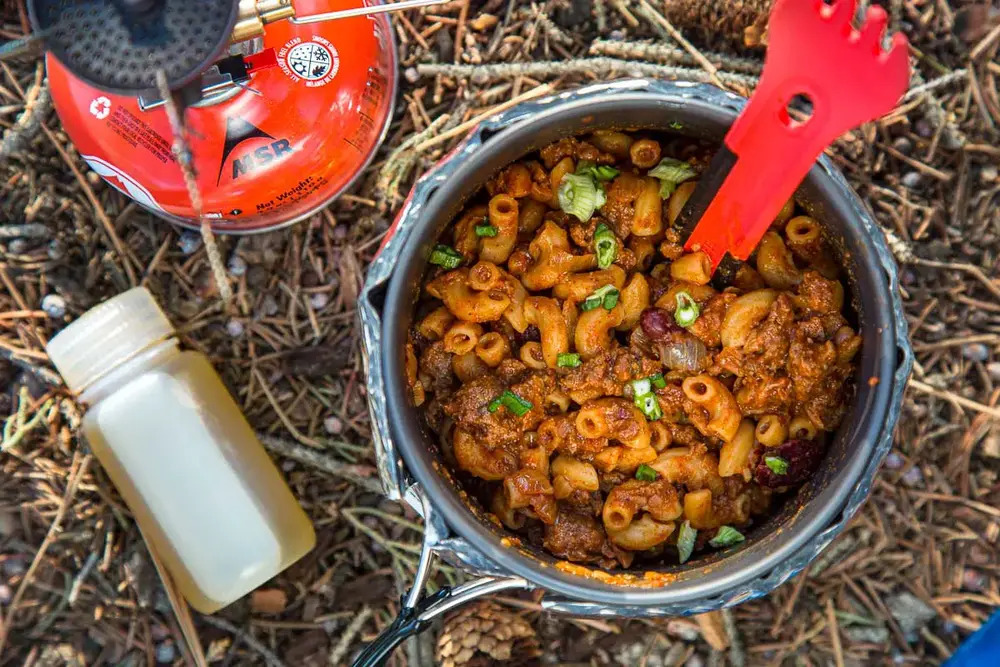
One Pot Chili Mac
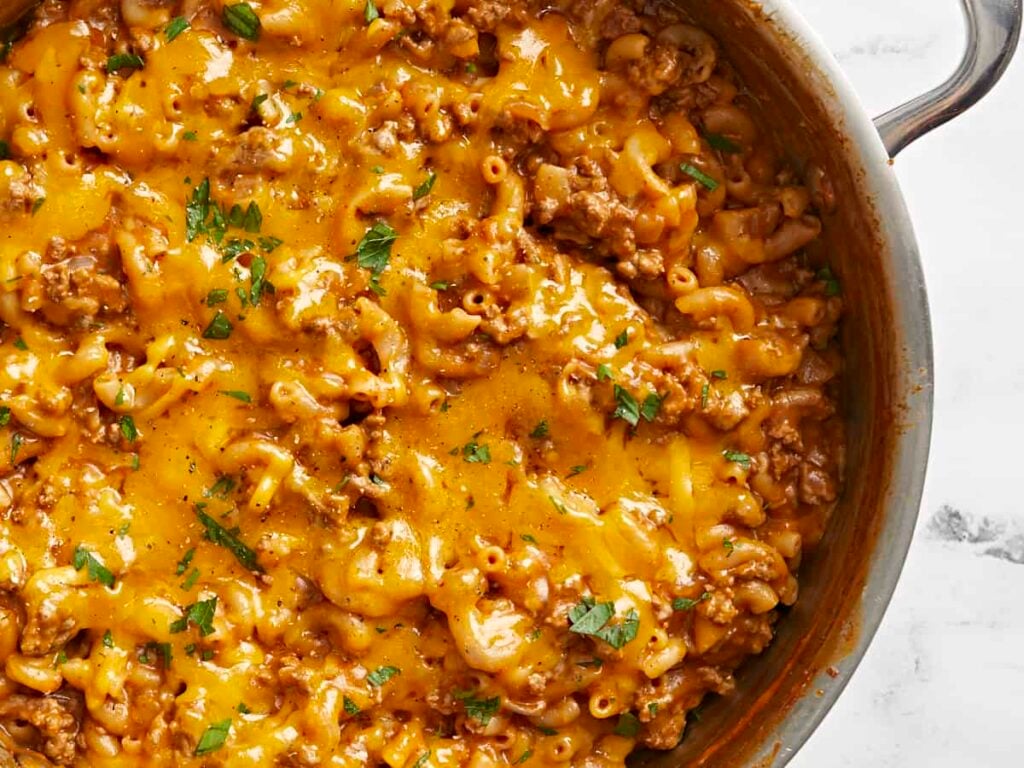
If you are a fan of “everything-goes-in-one-pot” dishes, it’s hard to think of a better camping option than One Pot Chili Mac. It’s literally in the name – the dish is the epitome of comfort camping food. The smoky, spicy flavors of chili blend with the creamy, cheesy goodness of mac & cheese. It’s a hearty, satisfying and most importantly, quick and convenient meal that’s perfect for camping trips. As usual, do what you wish with spices and herbs, just make sure to follow the rest of the recipe.
Ingredients:
½ pound ground beef | For a leaner option, choose 80/20 ground beef (the same as we’ve used for burgers). |
8 oz elbow noodles | Small shells or ditalini will also work. |
2 tablespoons tomato paste | This concentrates the tomato flavor, making the chili even richer. |
1 (14.5oz) can kidney beans | Dark red kidney beans are preferred for their firm texture and rich flavor. |
2 tablespoons chili powder* | Opt for a milder blend if you’re sensitive to heat. |
1 tablespoon cumin | Adds a warm, earthy note. |
1 teaspoon smoked paprika | Gives a subtle smokiness to the dish. |
1 ½ cup broth | Using broth instead of water enhances the overall flavor of the dish. |
½ cup shredded cheddar cheese | A Mexican cheese blend will add more complexity to the dish. |
2 cloves garlic | Fresh garlic adds depth. |
1 onion | Any color—red, yellow, or white—will work, but yellow onions provide a nice balance of sweetness and astringency. And we’ve used red onions plenty of times already. |
1 tablespoon oil | Choose a neutral oil like vegetable or canola for cooking. |
1 teaspoon sea salt | To taste |
Instructions:
- In a large Dutch oven or heavy-bottomed pot, heat the oil over medium heat. Add the diced onion and sauté until translucent, about 3-5 minutes. This builds the foundational flavor of the dish.
- Add the ground beef, breaking it apart with a spoon. Stir in the tomato paste, chili powder, cumin, smoked paprika and sea salt. Cook until the meat is fully browned and the spices are well incorporated.
- Mix in the minced garlic and cook for an additional 30-60 seconds until fragrant. Then, add the elbow noodles, drained kidney beans and broth. Stir everything together to combine.
- Cover the pot with a lid and let the mixture simmer for about 5-6 minutes. Adjust the cooking time based on the noodle package instructions. The liquid should be absorbed, and the pasta cooked through.
- Once the noodles are tender, remove the pot from heat and stir in the shredded cheese until it’s melted and the chili mac has a creamy consistency.
- Dish out the chili mac into bowls. This is where everyone can customize their bowl with their favorite toppings.
Topping Ideas:
Cilantro, Scallions, Diced Red Onions, Pickled jalapenos, Hot Sauce, Fritos or Tortilla Chips, Extra Cheese, Sour Cream or Greek Yogurt
Preparation and Cooking Tips:
- Spice to Your Taste: Start with less chili powder and build up to suit your taste, especially if you’re trying a new brand.
- Pre-Trip Prep: If you’re planning to make this while camping, pre-mix the spices at home to save space and hassle.
Recipe Information:
- Preparation Time: 5 minutes
- Cook Time: 15 minutes
- Number of Servings: 4
- Calories (Per Serving): 509 kcal
- Fat (Per Serving): 10g
Dutch Oven Lasagna
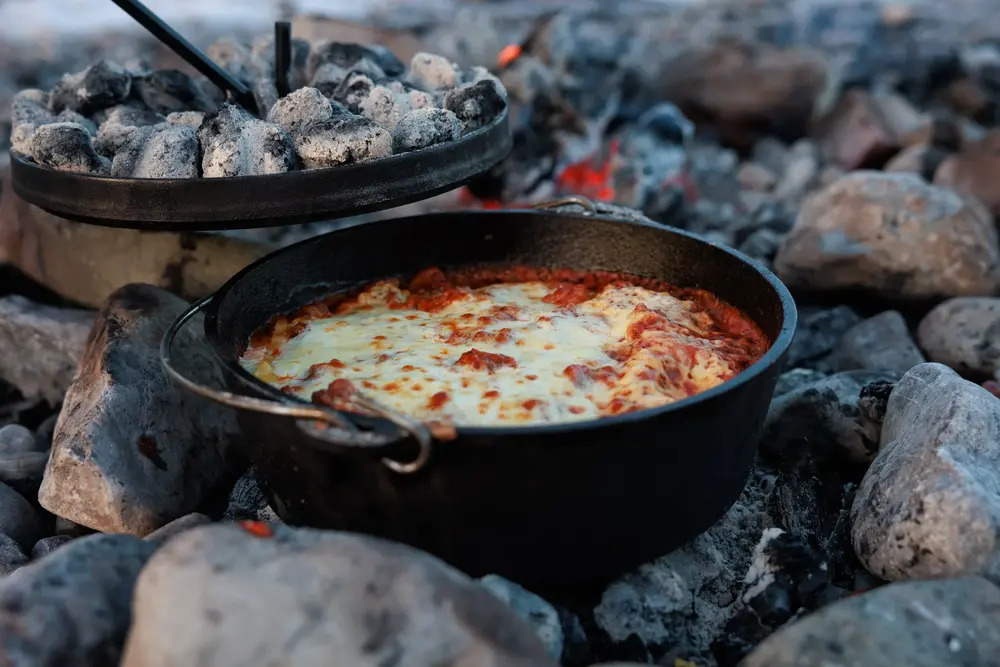
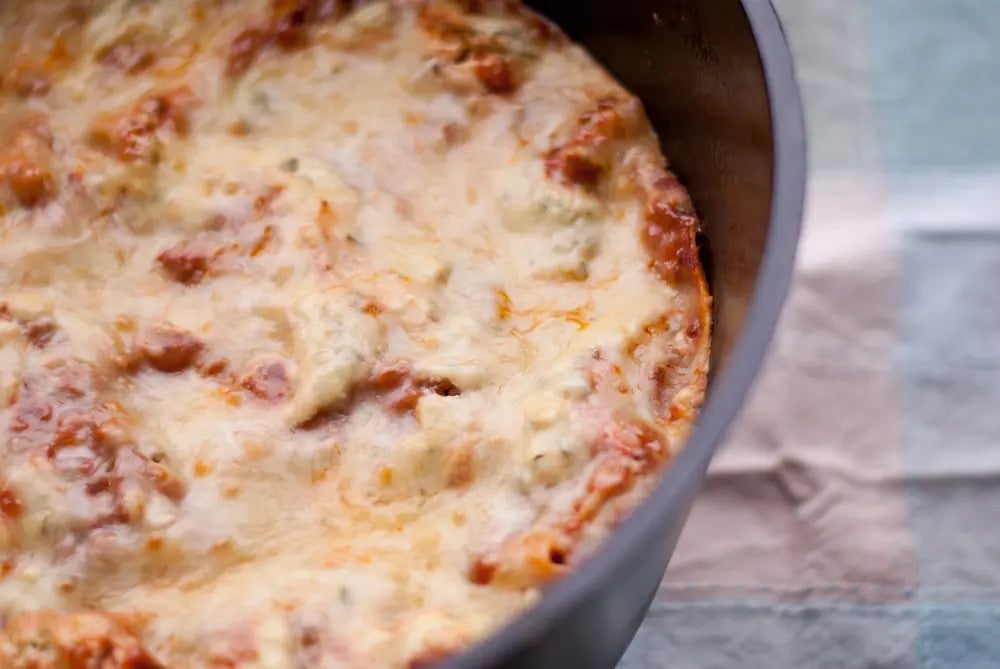
If you hate Mondays and love camping, then lasagna is an absolute must-try, at least once. This Dutch Oven Lasagna recipe simplifies the classic into a camp-friendly format without sacrificing the heartiness it’s known for. You will need to be thorough with the preparation, as it is extremely important for the ingredients to be suitable for campfire cooking. Here’s what you’ll need for 6 servings of Dutch Oven Lasagna.
Ingredients:
9 oz oven-ready lasagne noodles | Opting for no-boil noodles significantly reduces prep time and ensures even cooking. |
14 oz sausage | Crumbled pork sausage works best, but feel free to choose any sausage you wish. |
15 oz ricotta cheese | Choose whole milk ricotta for its creaminess; it makes a difference in the texture. |
1 egg | Improves the ricotta’s texture and helps bind the layers. |
¼ cup flat-leaf parsley | Adds a fresh, vibrant touch to the ricotta mixture (if the parsley is fresh). |
1 tablespoon Italian seasoning | A convenient way to add depth and Italian flair without a small squad of spices. |
1 tablespoon olive oil | Needed for sautéing and greasing. |
25 oz marinara sauce, | Select a high-quality sauce that suits your taste preference — rich and herbaceous works well. |
1½ cup Italian cheese blend (shredded) | A mix of Asiago, Parmesan, and Romano cheeses introduces complexity and meltiness. |
½ teaspoon sea salt | To taste |
Instructions:
- If using charcoal, fill a large chimney starter and light them. This takes about 20 minutes. Keep extra charcoal in reserve. For a campfire, start a large fire with hardwood and allow it to burn down to embers for roughly an hour.
- In a large bowl, beat the egg thoroughly. Mix in the ricotta cheese, chopped parsley, Italian seasoning and sea salt until combined. Set aside.
- Heat the Dutch oven over the campfire or on a camp stove, add oil and then the sausage. Allow the sausage to brown on one side, then break it apart into smaller pieces. Once evenly browned, remove from heat and set aside.
- Grease the bottom of the Dutch oven with olive oil and start layering:
- Base Layer: A thin spread of marinara sauce.
- First Layer: Lasagna noodles (broken to fit), half of the ricotta mixture, half of the sausage, a sprinkle of cheese blend, and a layer of sauce.
- Second Layer: Repeat the first layer.
- Top Layer: Finish with a final layer of noodles, the remaining sauce and the cheese blend.
- Cover the Dutch oven and place it on a bed of charcoal or a campfire grate. Add additional coals to the lid. Rotate the Dutch oven occasionally to avoid hot spots. After about 30 minutes, the cheese should be melted and lightly browned.
- Carefully remove the Dutch oven from the heat. Allow it to cool for a few minutes before serving.
Cooking Tips:
- Coal Management: Keeping extra coals handy ensures you can maintain the right temperature throughout cooking.
- Layering: Ensure all noodles are fully coated in sauce to facilitate proper hydration and cooking.
- Serving: Letting the lasagna rest a few minutes before serving helps the slices hold together better.
Recipe Information:
- Preparation Time: 30 minutes (active)
- Cook Time: 30 minutes
- Number of Servings: 6
- Calories (Per Serving): 528 kcal
- Fat (Per Serving): 25g
Skillet Meals
A good cast iron skillet is nearly indestructible and can be used for just about anything – frying bacon, sautéing veggies, even baking biscuits if you want to go that far. The even heat distribution and ability to withstand high temperatures make it ideal for campfire cooking. A cast iron skillet is heavy, but not as heavy as the Dutch oven, so you can assign one person to carry it without much problem. Cooking with a skillet over an open flame does require some attention to avoid hot spots and burning, but it’s worth it for the flavor and versatility.
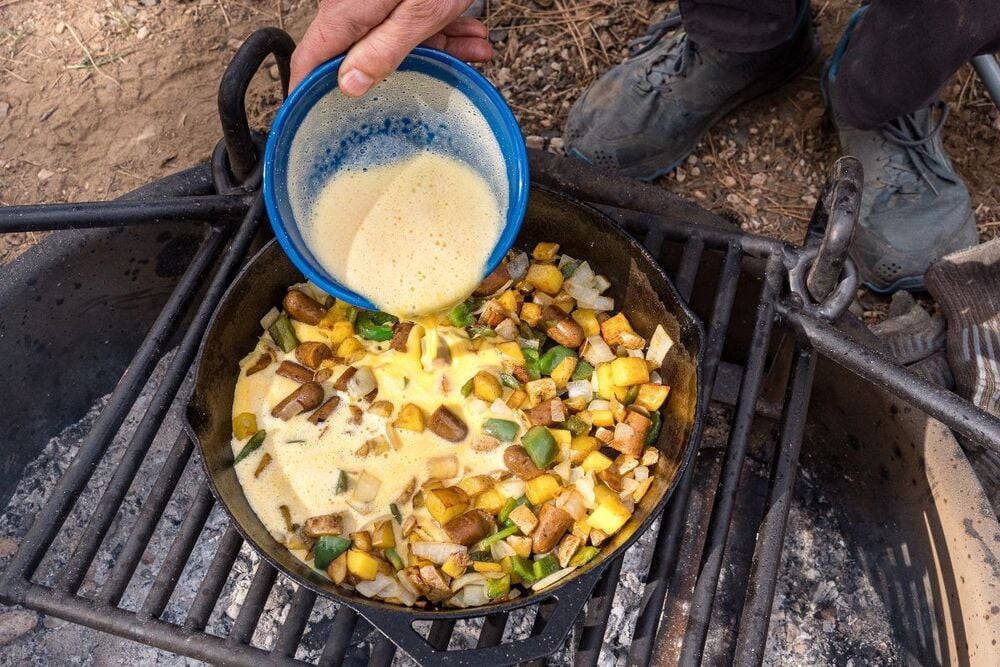
Mountain Breakfast Skillet
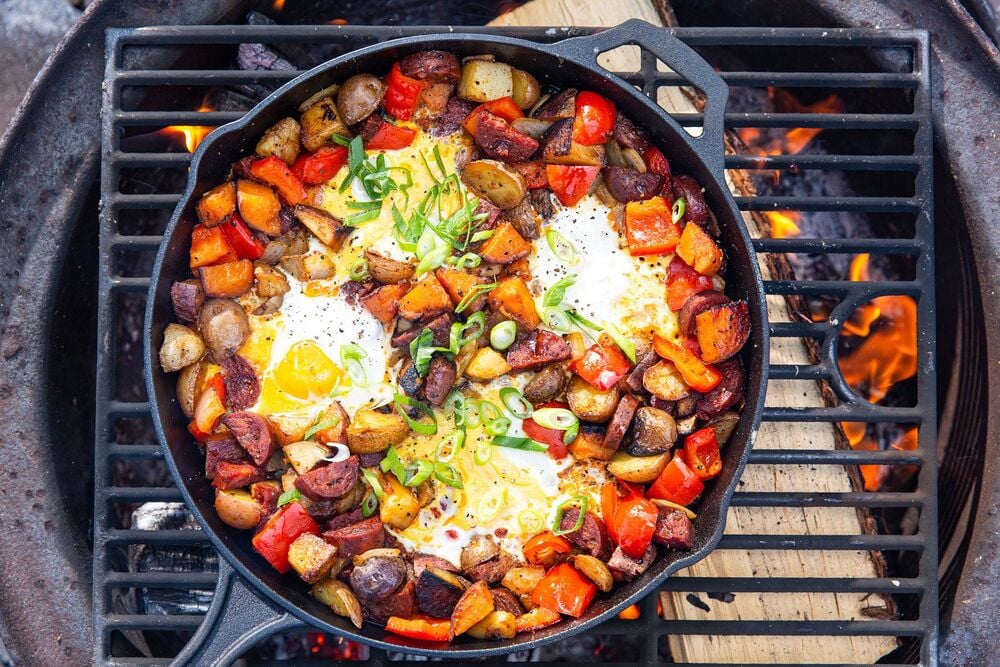
They say that breakfast is the most important meal of the day, and thus needs to be substantial to match its importance. With Mountain Breakfast Skillet your day will always have a good start, regardless of the weather outdoors. It is a savory blend of fried potatoes, vibrant peppers, onions, rich cheesy scrambled eggs and flavorful sausages. The ingredient description alone is enough to make our mouths water, so let’s not waste time and get to the specifications, shall we?
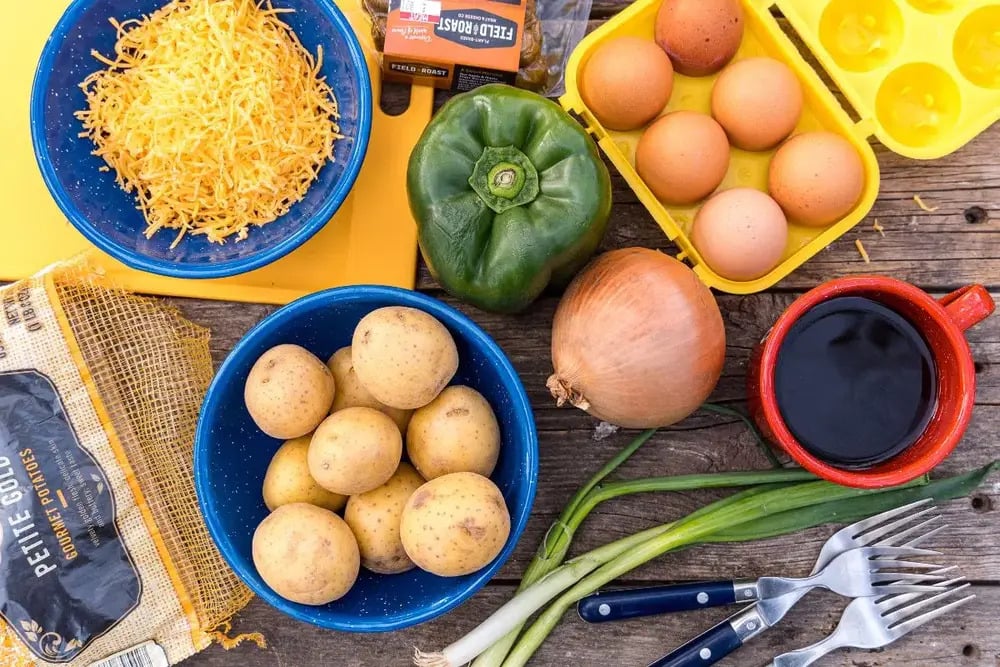
Ingredients:
½ pound Yukon gold potatoes | Waxy potatoes like Yukon Gold hold their shape well and have a buttery texture that adds richness to the dish. |
¼ pound sausage | Choose your preference: links or crumbles, mild or spicy, meat-based or vegan alternatives all work well. |
6 eggs | Ensure they are thoroughly beaten for the best texture in your scrambled eggs. |
1 green bell pepper | For a milder flavor, though, Anaheim or Poblano can add a bit of heat if preferred. |
1 yellow onion | Yellow onions are sweet and mellow, complementing the other flavors without overpowering them. |
1 cup shredded cheddar cheese | Opt for a cheese that melts well to create a creamy texture in the eggs. |
2 tablespoons oil | Vegetable or canola oil is recommended for its neutral flavor. |
½ teaspoon sea salt | Adjust to taste, but remember some sausages may also add saltiness on their own. |
Toppings: Chopped green onions, ground black pepper.
Instructions:
- In a large skillet, preferably cast iron for even heating, heat 1 tablespoon oil over medium heat. Add the cubed potatoes and cook, turning occasionally, until they begin to brown in about 10-15 minutes.
- Introduce another tablespoon of oil along with the green bell pepper. Sauté for 5 minutes until it begins to soften, then add the diced onion and sea salt. Continue to sauté for about 5 minutes, until the onion softens and starts to color.
- Add the sausage to the skillet. If using uncooked meat sausages, ensure they’re cooked thoroughly until browned. For pre-cooked or veggie sausages, simply warm them up with the vegetables.
- In a bowl, thoroughly beat the eggs. Reduce the skillet’s heat and push the veggies and sausage to the sides, creating space in the center. Add a bit more oil if needed, then pour in the eggs and shredded cheese. Scramble the eggs in the center until they just set, then fold the veggies and sausage back into the mix, integrating everything evenly.
- Remove the skillet from heat. Garnish your mountainous breakfast creation with sliced green onions and a sprinkle of ground black pepper.
Cooking Tips:
- Potato Size: Cutting your potatoes into uniform pieces ensures even cooking. Aim for ¼”-½” cubes for the perfect balance between cooking time and fork-friendliness.
- Cheese Integration: Adding cheese directly to the beaten eggs before scrambling ensures a uniform melt and distribution, resulting in creamy, cheesy eggs.
- Customization: Feel free to customize the toppings based on what you have available or personal preference. Cilantro, jalapenos, bacon bits, or even extra cheese can make for great additions.
Recipe Information:
- Preparation Time: 15 minutes
- Cook Time: 25-30 minutes
- Number of Servings: 4
- Calories (Per Serving): 444 kcal
- Fat (Per Serving): 30g
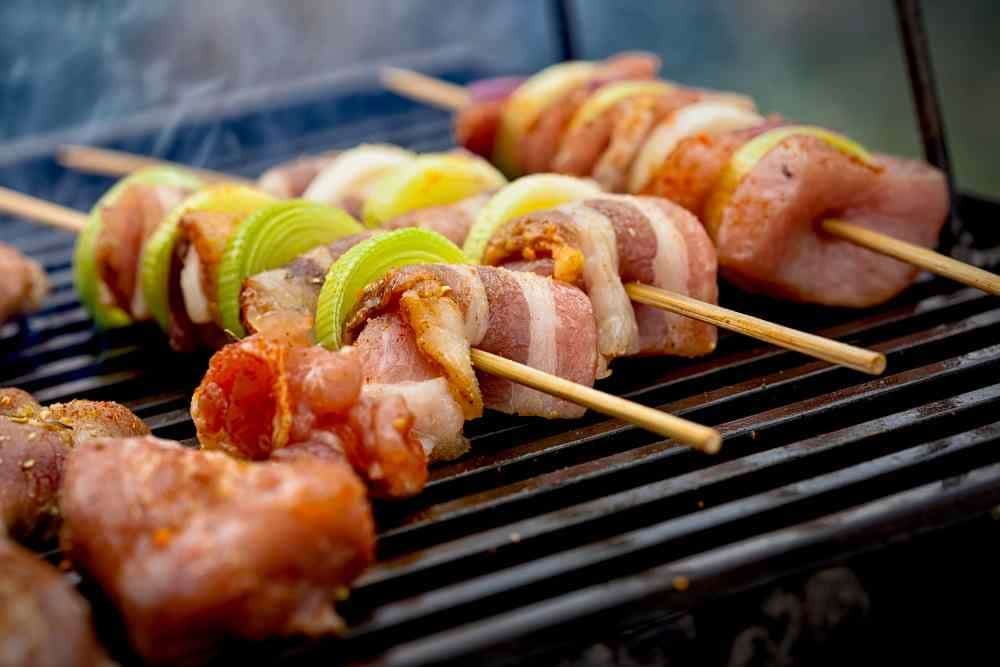
Skewers
Skewers are a fun and easy way to cook over a campfire. You can skewer meat, vegetables, fruit, then hold them over the flames or lay them on a grill grate. It’s a very hands-on cooking method and great for interactive meals where everyone cooks their own skewer. Skewers are lightweight and easy to pack, which makes them ideal for any type of camping. However, cooking with skewers does require some vigilance to keep the food from burning or falling into the fire, so you’d better not leave it be – it will definitely get charred.
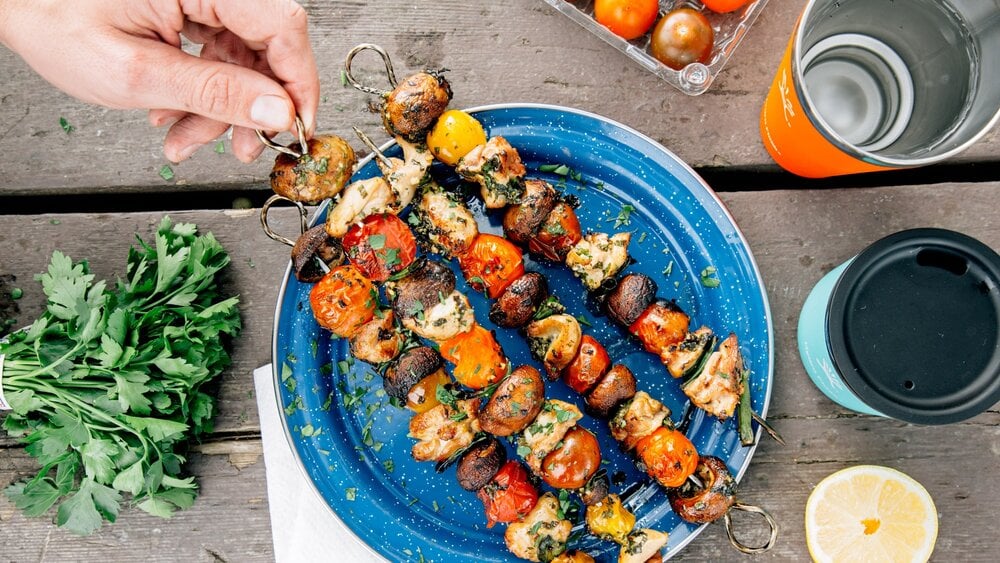
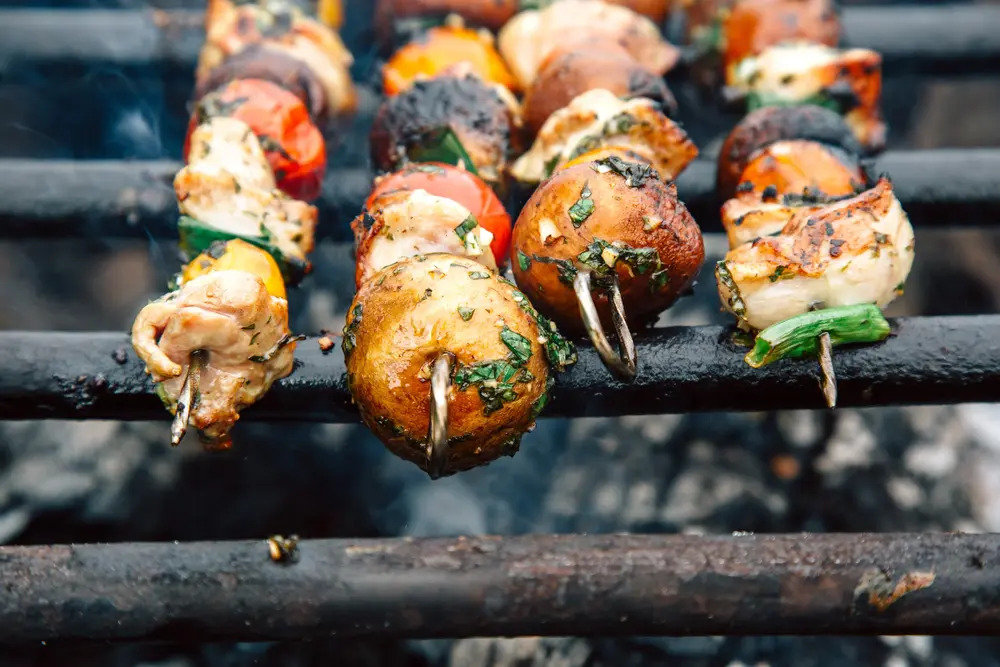
Grilled Chicken Skewers With Veggies
Put a marshmallow on a skewer – and you get the most canonical campfire dish as seen by people who do not frequent the outdoors too often. It is, however, a staple of campfire cuisine – the ease of preparation makes it too good to skip. As, since you can skewer pretty much anything, the imagination is the only limit. Here’s one example of a skewer that makes for a tastiest snack. Or a whole course, if you keep all the skewers to yourself, and it’s super easy to fall for this temptation.
Ingredients:
For the Marinade:
¼ cup olive oil | Opt for extra virgin olive oil for its richer flavor and health benefits. |
¼ cup chopped basil | Basil adds a sweet and peppery flavor; ensure it’s fresh for the best taste. |
¼ cup chopped parsley | Parsley brings a bright, slightly bitter note that balances the marinade. |
2 cloves garlic | Fresh garlic will infuse the marinade with a pungent, aromatic flavor. |
1 lemon | The acidity of lemon juice not only flavors the chicken but also tenderizes it. |
1 teaspoon salt | Adjust according to your preference, but remember it helps to enhance all the flavors in the marinade. |
To Build the Skewers:
½ lb chicken | Boneless, skinless thighs are recommended for their juiciness and flavor. |
8 oz whole mushrooms | White button or cremini mushrooms both work well; they soak up the marinade beautifully. |
8 oz cherry tomatoes | Choose ripe but firm tomatoes for a burst of sweetness. |
2-3 green onions | Their mild onion flavor complements the other ingredients perfectly. |
Instructions:
- The first two steps are done as a part of the preparation process. In a large bowl or resealable zip-top bag, combine the olive oil, chopped basil, parsley, minced garlic, lemon juice and salt. Mix well to integrate all the flavors.
- Cut the chicken into 1-inch pieces, ensuring they are roughly the same size for even cooking. Add the chicken pieces to the marinade. Toss or stir until each piece is thoroughly coated. Cover the bowl or seal the bag and refrigerate for at least 30 minutes, or up to two hours. This allows the chicken to absorb the flavors.
- Prepare your campfire to have a bed of coals ready for cooking. Thread the marinated chicken, mushrooms, cherry tomatoes, and green onions onto skewers.
- Place the kabobs on the grill or over the campfire. Grill over medium-high heat, turning occasionally, to ensure all sides cook evenly. Continue doing so until the chicken is thoroughly cooked, which should take about 10 minutes.
- Carefully remove the kabobs from the grill and allow them to rest for a couple of minutes before serving.
Preparation and Cooking Tips:
- Choosing Skewers: Flat metal skewers are recommended as they prevent the ingredients from spinning when flipping the kabobs. If using wooden skewers, soak them in water for at least 30 minutes before grilling to prevent burning.
- Avoid Over-marination: Marinating the chicken for the recommended time ensures flavor infusion leaving the texture uncompromised. Marinating too long, especially in acidic mixtures, can lead to mushy chicken.
Recipe Information:
- Preparation Time: 15 minutes (plus 30 minutes to 2 hours for marinating)
- Cook Time: 10 minutes
- Number of Servings: 6
- Calories (Per Serving): 128 kcal
Ideal meals for outdoor cooking include those that can be cooked with grill, foil, Dutch oven skillet or skewers.
Grill meals involve cooking food over a campfire using a grill grate. This method is perfect for achieving a charred flavor on meats and vegetables alike.
The cooking process is extremely simple: you only need to wrap the food in aluminum foil and place it directly on coals. This simplicity makes them a convenient option with minimal cleanup required.
Dutch oven meals are cooked in a heavy, cast-iron pot for a versatile cooking approach. This piece of cookware allows for baking, stewing and frying.
Cooking with a cast iron skillet is appealing for its versatility, allowing for frying, sautéing, and even baking over a campfire.
Skewer meals allow for grilling various meats and vegetables on sticks, offering a fun and interactive way to cook and enjoy food outdoors.
